
Happy New Year! So grateful for all the support these past 20 years…we cannot believe how time has flown! ...
Blog
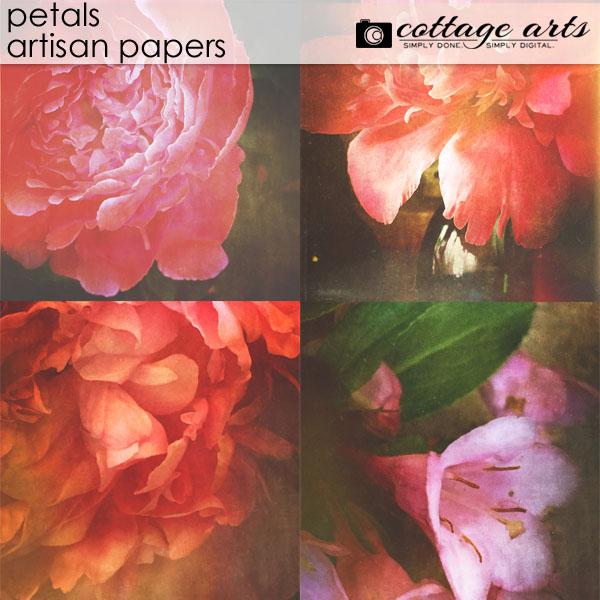
We’re excited to share our new product line, Artisan Papers, which include painterly 12×12 papers for art journaling, wall art,...
Happy Thanksgiving to all who celebrate it! Tonya Regular here for a little design inspiration. 🙂 When starting a...
Happy Thanksgiving, all! What a wonderful year it has been and we have much to be grateful for. Around...
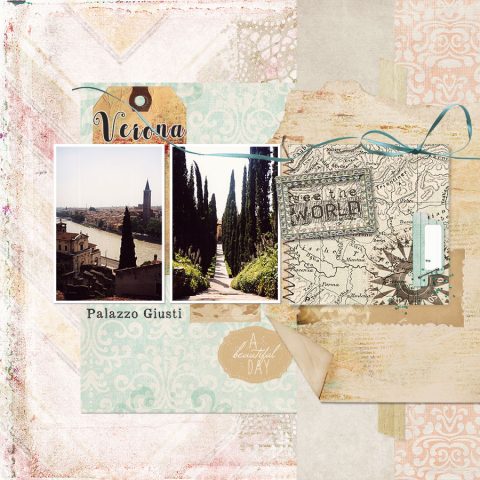
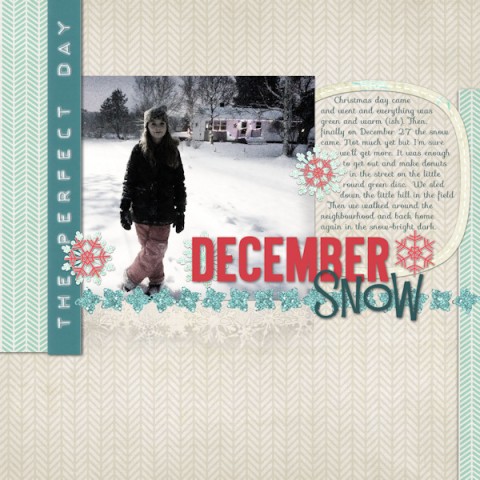
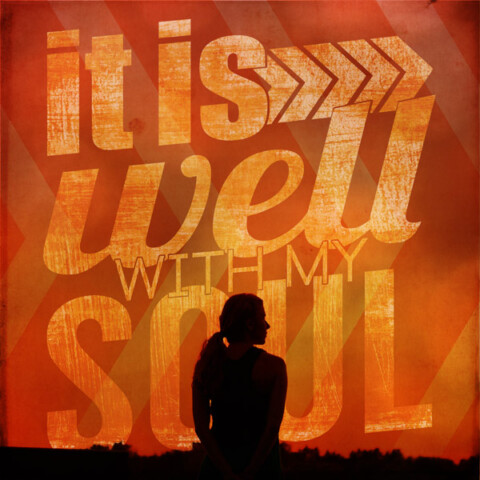
Layout credits: Everyday paper pak no. 17; Chevron Blends paper pak; Click.masks no. 26; Everyday paper pak 18; Word...
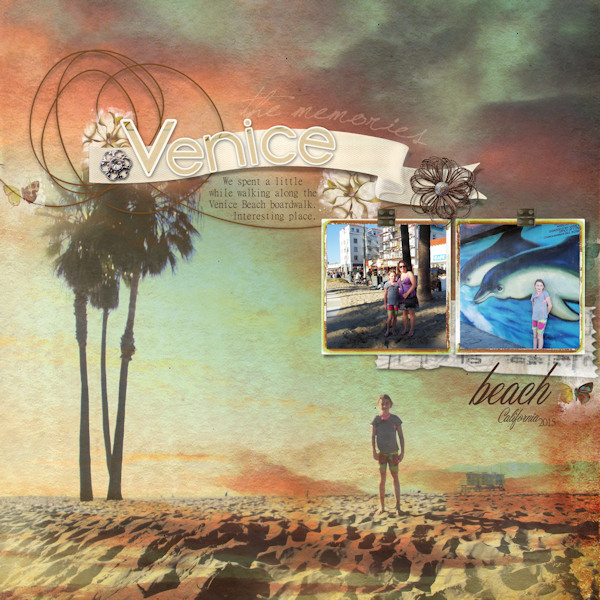
Post by Tonya Regular. Earlier this year, my daughter and I met up with nine other close friends and vacationed in...

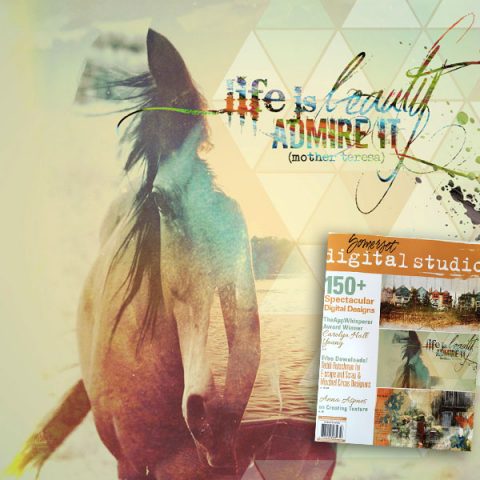
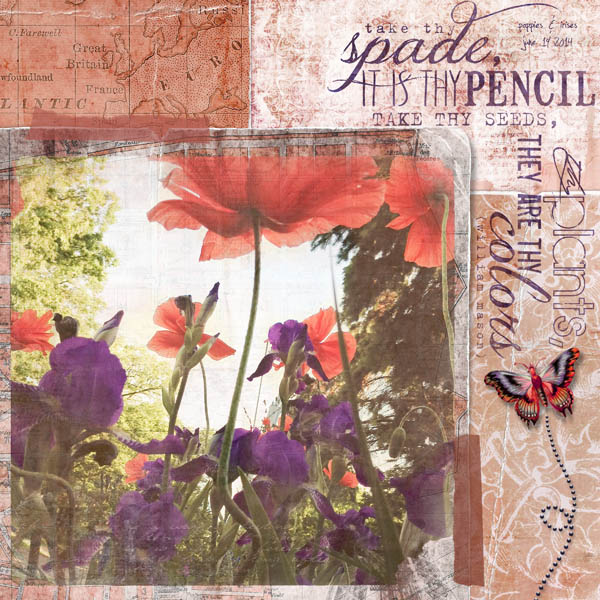
DianaPhoto app, Mextures app, Adobe PSE, simply love 3 scrap.words So thrilled to share my latest Digital Workshop column in the...
michelle shefveland Who doesn’t love discovering new skills using your digital art stash to make digital scrapbooking even more...
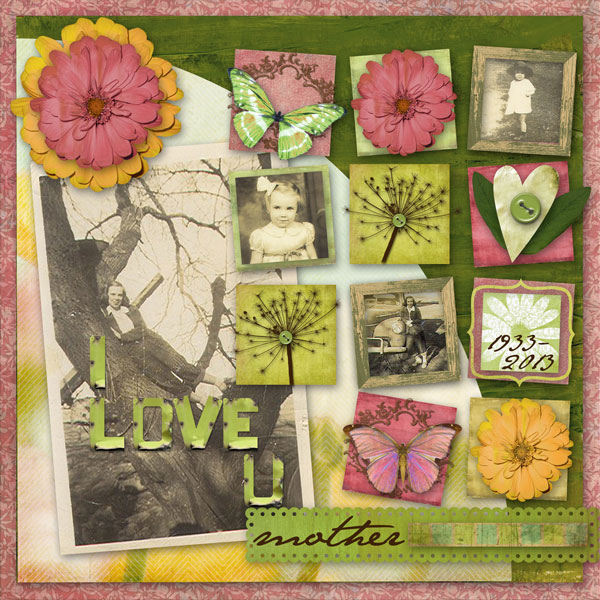
beth ervin With Mother’s Day just around the corner, and some of us recently losing our beloved Moms…our team...
michelle shefveland. supplies Time for another fun digital art how-to! You see them on most magazine covers…those cool titles...