
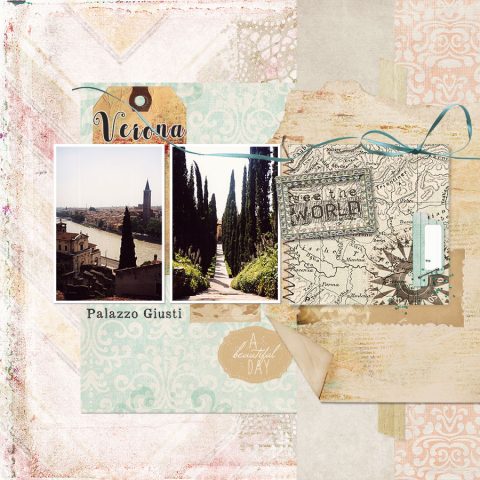
Layout credits: Everyday paper pak no. 17; Chevron Blends paper pak; Click.masks no. 26; Everyday paper pak 18; Word...
Archive for category: Tutorials
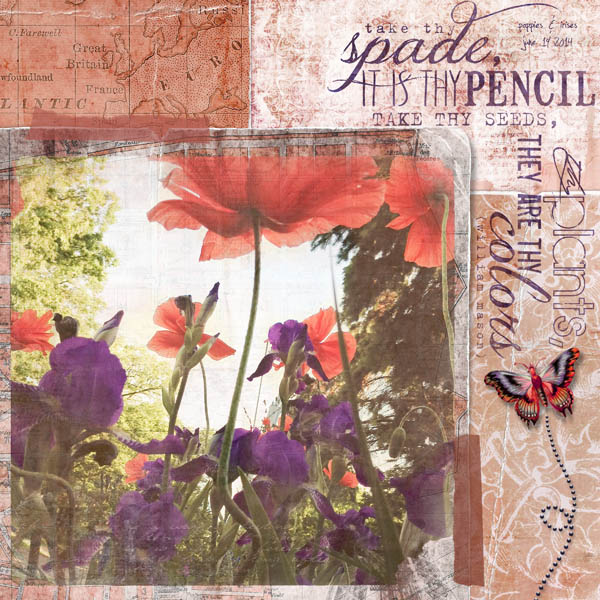
DianaPhoto app, Mextures app, Adobe PSE, simply love 3 scrap.words So thrilled to share my latest Digital Workshop column in the...
michelle shefveland Who doesn’t love discovering new skills using your digital art stash to make digital scrapbooking even more...
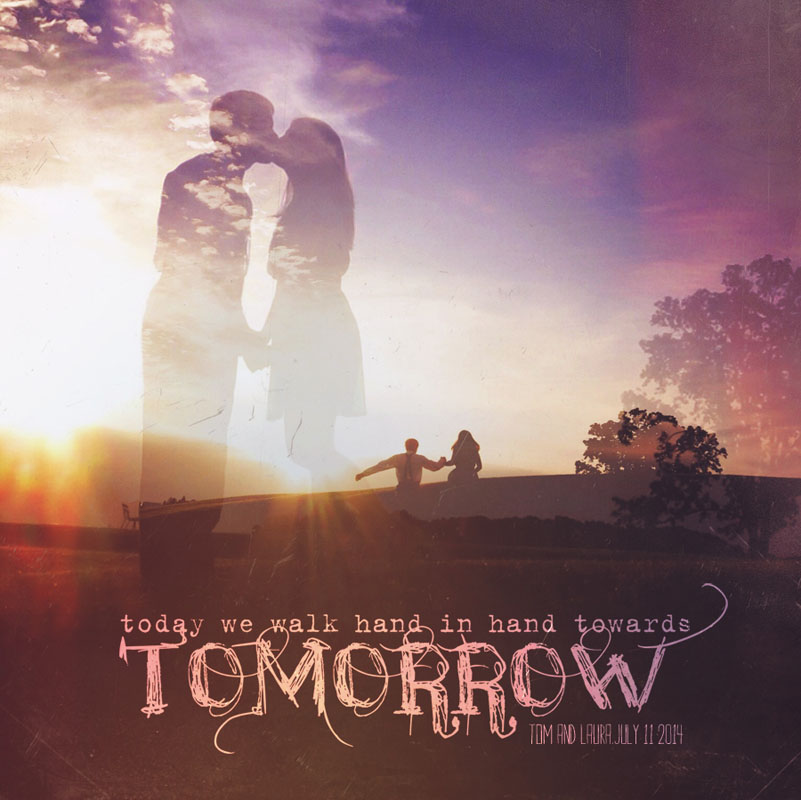
michelle shefveland. supplies Time for another fun digital art how-to! You see them on most magazine covers…those cool titles...
In Thursday’s newsletter we announced our 6th set of Photo Art Blends. These come with 7 different types of...
michelle shefveland. return of october papers and elements Halloween. In Minnesota this is basically equivalent to braving the freezing...
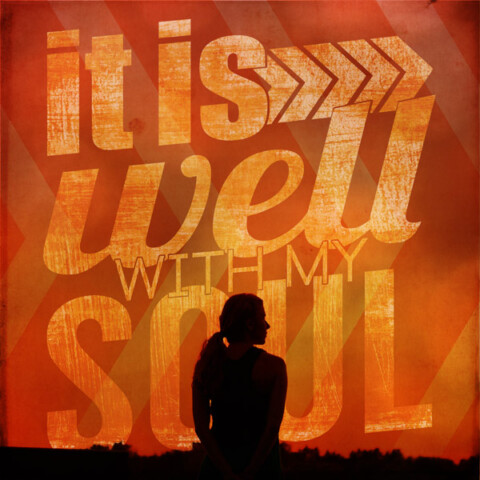
michelle shefveland. mextures iPhone app, this is life 5 scrap.words We’re excited to share my latest Digital Workshop column in the...
Hi all…lots to share today! We’re excited to announce our third digital art class with Adobe training experts, Digital...
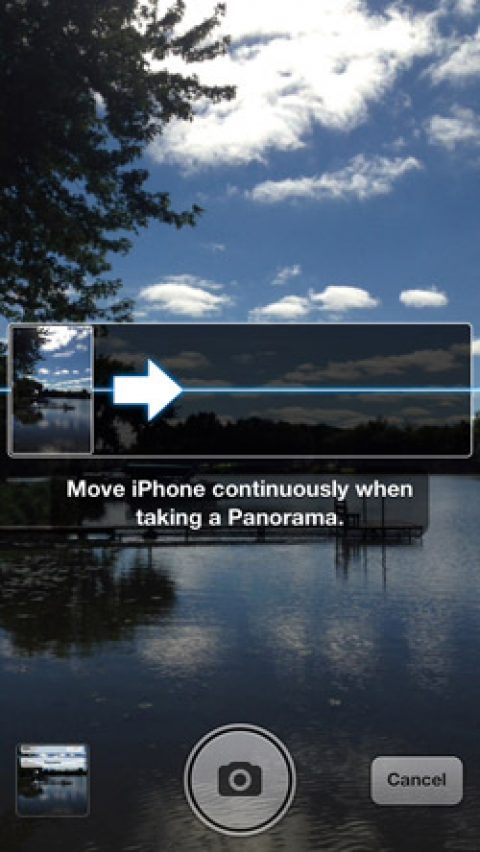
michelle shefveland. scrap.templates 8 (great for panos!), outdoor adventure stickers Hi all! Kris here today with a fun cell...
Happy summer all! We are just back from our fabulous photography road trip to Montana and are so excited...