
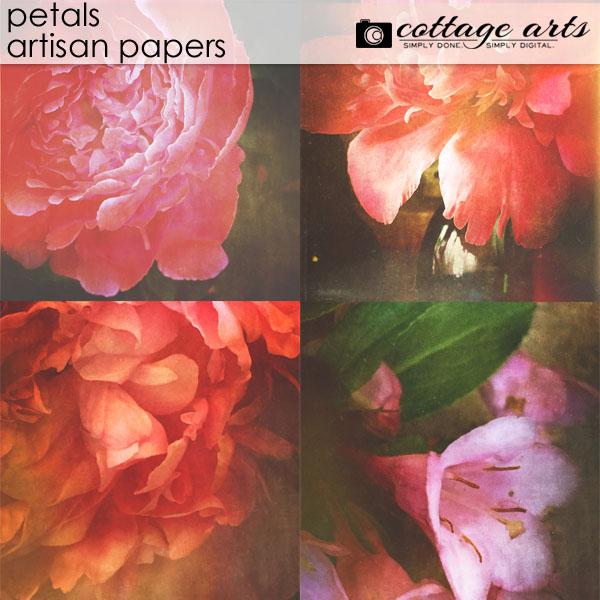
We’re excited to share our new product line, Artisan Papers, which include painterly 12×12 papers for art journaling, wall art,...
Archive for category: Team Inspiration
Happy Thanksgiving to all who celebrate it! Tonya Regular here for a little design inspiration. 🙂 When starting a...

Happy Thanksgiving, all! What a wonderful year it has been and we have much to be grateful for. Around...
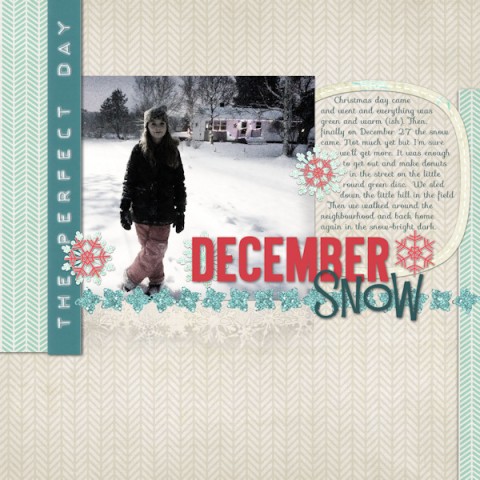
Layout credits: Everyday paper pak no. 17; Chevron Blends paper pak; Click.masks no. 26; Everyday paper pak 18; Word...
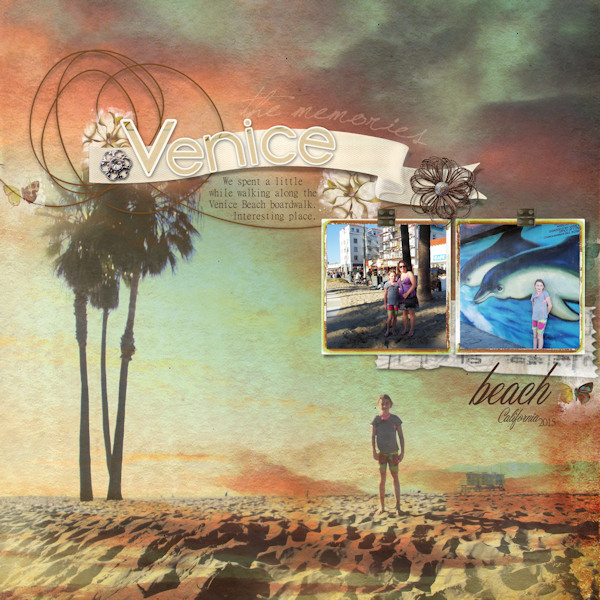
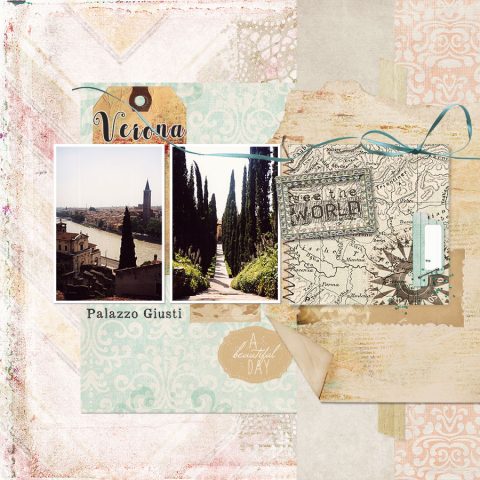
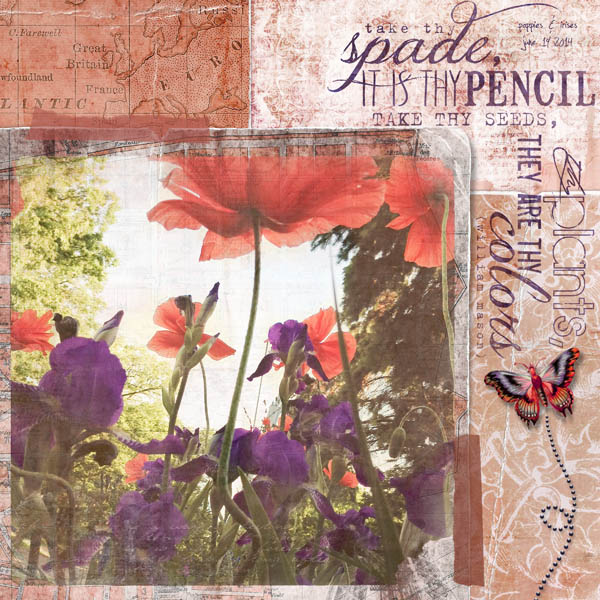
Post by Tonya Regular. Earlier this year, my daughter and I met up with nine other close friends and vacationed in...
michelle shefveland Who doesn’t love discovering new skills using your digital art stash to make digital scrapbooking even more...
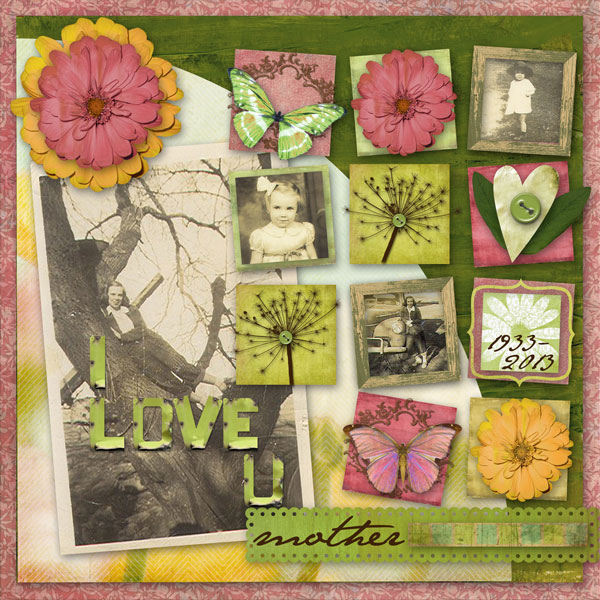
beth ervin With Mother’s Day just around the corner, and some of us recently losing our beloved Moms…our team...
rikki donovan Hello all! We’ve been busy around here the past many months with some exciting partnerships and wanted...
We recently released our Cardinal Christmas Collection and have a little freebie below for you made from it: a 4×6...
Ever make a scrapbook page and say, “there is something missing here, but I have no idea what?” Well...