
Happy Thanksgiving, all! What a wonderful year it has been and we have much to be grateful for. Around...
Archive for category: Digital Art Resources
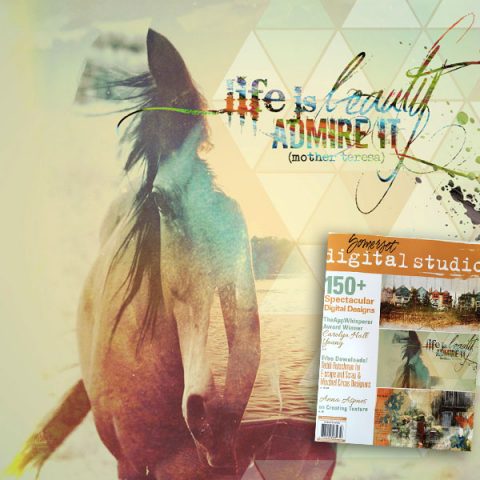
DianaPhoto app, Mextures app, Adobe PSE, simply love 3 scrap.words So thrilled to share my latest Digital Workshop column in the...
rikki donovan Hello all! We’ve been busy around here the past many months with some exciting partnerships and wanted...
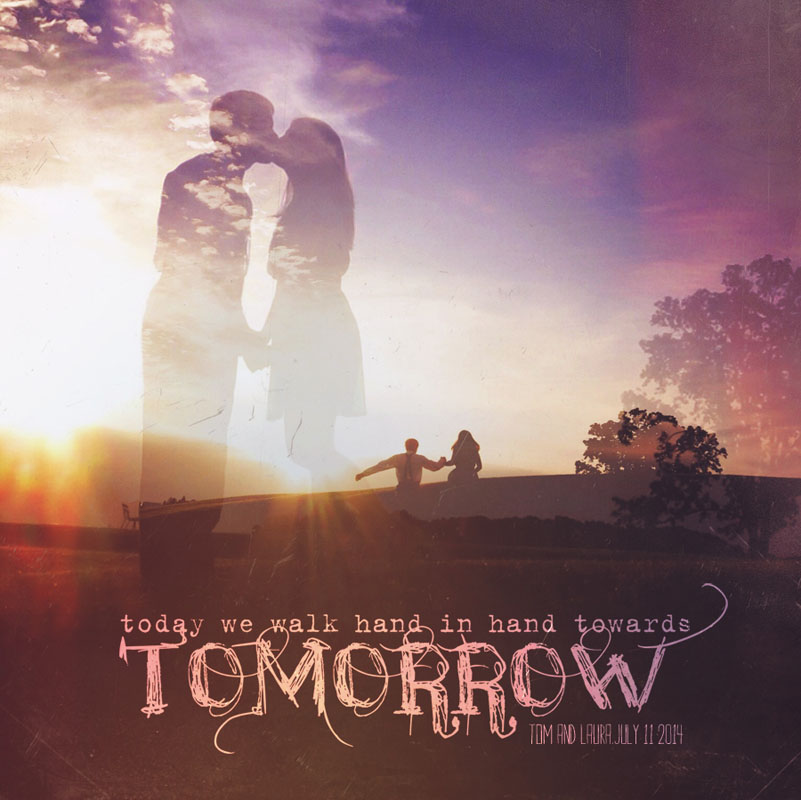
michelle shefveland. mextures iPhone app, this is life 5 scrap.words We’re excited to share my latest Digital Workshop column in the...
Wow, is this year flying by or what? Halloween is just around the corner, and we all know what...
Ever make a scrapbook page and say, “there is something missing here, but I have no idea what?” Well...
Hi all…lots to share today! We’re excited to announce our third digital art class with Adobe training experts, Digital...
michelle shefveland. photo art blends 5, botanical banners, butterfly danglies, say it again 2 scrap.words I recently had the...
scrap.frames 24, photo art blends 4, this is life 6 scrap.words Hi all! Just ran across this great resource...
michelle shefveland. simply love papers, elements & sentiments Let’s make some photo transfer art. With scanners and digital cameras...