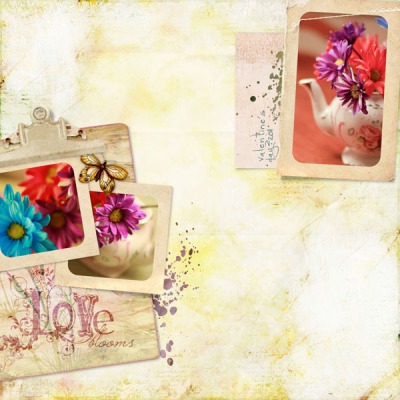
rachel shefveland. scrap.templates 26, everyday 8 papers
Hi all! Time for a how-to on adding 3D dimension to flat two dimensional digital elements. The keys to realism are highlights and shadows. I covered the first part of the process in my realistic drop shadow tutorial on our site here, with the second part being easily accomplished with the old faithful dodge and burn tools.
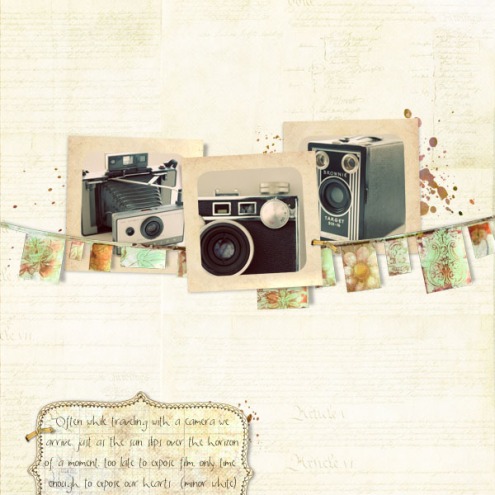
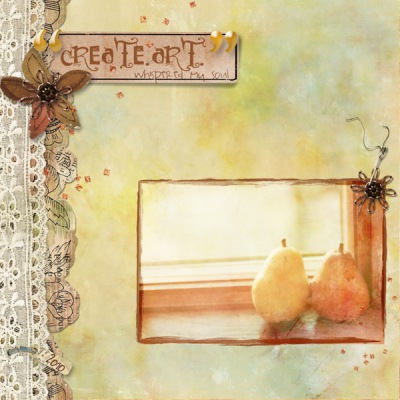
In Rachel’s layout above, the banner and frames come pre-made with realistic shadows and highlight details that make them look 3D, right? We tell you in our product descriptions in the shop if the elements come with lifted drop shadows or without. Look closely and see that where paper is lifted it is highlighted (and there is a larger shadow beneath lifted areas) and where it is not it is darker.
Here’s how you can do it yourself to otherwise flat pieces with Photoshop or PSE. Paint Shop Pro would be very similar.
Note: click on images below for enlarged view.
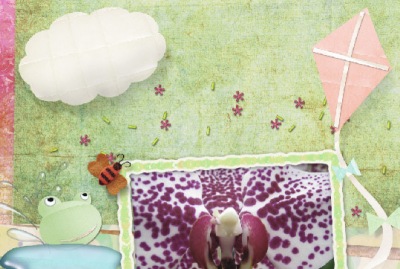
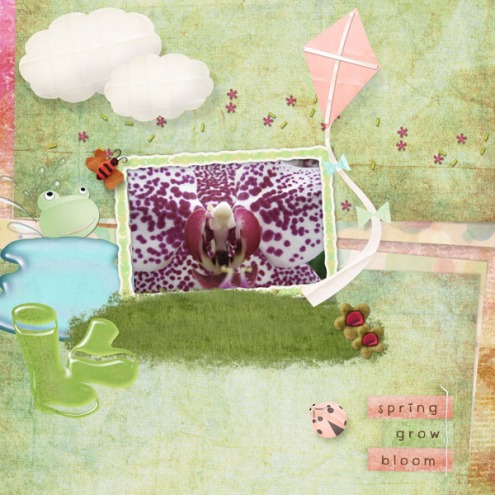
- For this tutorial I’m going to take a two dimensional cloud element and give it 3D dimension with a custom drop shadow (on its own layer) and by adding highlights and shadowing to the cloud itself. You can see there is already one dimensional cloud on this page by Karen Wilhelm. I will repeat the process on a second cloud and show you how it’s done.
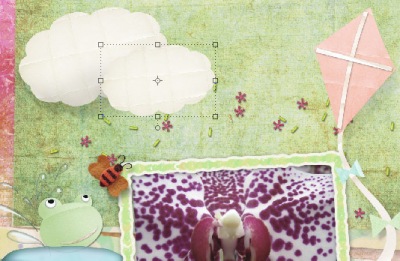
- Drag a second cloud onto layout. Resize and position.
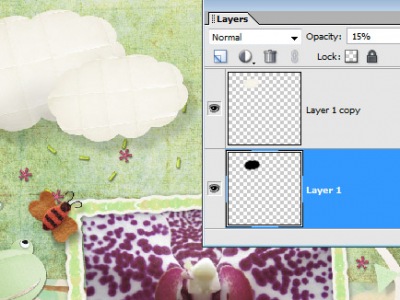
- Duplicate cloud layer (Layer>Duplicate Layer). Change hue to black to lower cloud layer (this will be the shadow). Apply Gaussian Blur (Filter>Blur>Gaussian Blur) of about 7 to black layer. Change opacity to 15-20% for this highly lifted, faint shadow. Move the shadow down and to the right for this page. See details for custom shadows in my tutorial here.
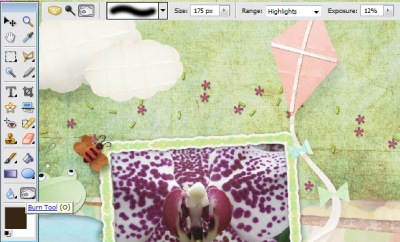
- Now the fun part. Select the Dodge/Burn Tools from the Toolbar. Let’s Burn first. Since the cloud was almost white I set the tool options to Highlights around 8-12% Opacity with a soft round brush and with my pen tablet lightly stroke the underside of the cloud until I’m satisfied. Note: Normally when I burn I set it to Midtones.
- Select the Dodge Tool with the same Highlight settings and apply highlights to the middle of the cloud and wherever you see the sun hitting it.
- That is really all there is to it! karen wilhelm. spring showers pak
- Save as layered PSD image to retain layers. Use the Undo key if you are unhappy with your work and re-do. The beauty of digital!
- Note: When you are dealing with lifted paper mats, you often apply highlights to the lifted corners and burn the dips and creases. Again, watch how light falls on real paper and photos. It really is fascinating!
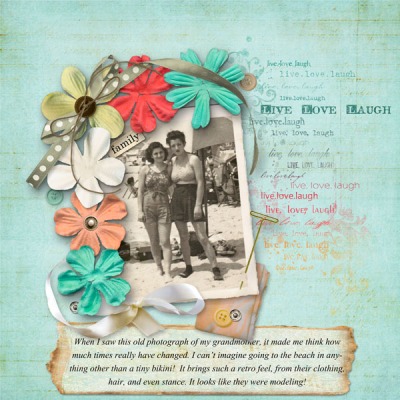
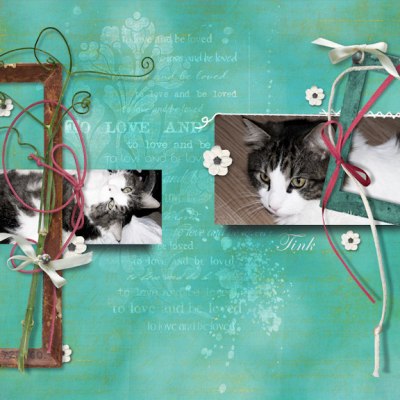
Some more ideas on using light and shadows to make your pages jump out at you are by the team below. Check out our gallery here for more creations showcasing realistic dimension.
marie di raimondo
erica nunez
tonya regular
rachel shefveland
michelle shefveland
Keep learning! Michelle

