A quick and easy how-to…using our new Frame.Blends and one of my favorite date fonts: Misproject. This font gives a distressed vintage date stamp look. Let’s just add two other steps to give even more realism (like you really stamped it on your page).
We’ll also show how fun, easy, and versatile the Frame.Blends are! They come with and without a subtle photo blend overlay and are sized perfectly for your instagram shots (or any other square photo). See below for how you can combine the two versions for more variations.

Here’s how:
- Open Adobe Photoshop Elements (or Photoshop/Corel Paint Shop Pro)
- Open 12×12 background paper of choice (Chevron Blends)
- Open Frame.Blends (opened both 10 and 10Blend)
- Drag both onto paper (they are identical except for 10Blend having a ready-to-use texture overlay included)
- Open 4 photos (mine are instagram shots)

- Drag onto layout
- Resize and position photos, as desired
- Adjust layer position of both Frame.Blends to be on top of photos in the Layer Palette (non-blend frame should be on top)

- For some layouts or images you may desire less texture on the Frame.Blends (which is the reason we offer them plain and with a photo blend overlay; you can use them in duo). Play with the opacity of the 10Blend FrameBlend to preferred amount of texture and color. In this sample we set the opacity to 35%, since instagram shots already have texture applied.
- Using Type Tool, select Misproject font, color, and size desired
- Type date as shown with spaces to look like a vintage postage stamp

- Now…simply rotate font a touch with the Move Tool so it isn’t perfectly straight
- And, decrease the opacity to let the layer beneath it show through for more realism (will vary based on color of text and layer beneath – sample used 62%)

- To complete, we added a frame and word art quote from Words to Live By Scrap.Words, changing the color of the frame to a warm gray (shortcut: Ctrl+U; mac: Cmd+U) to match the photo corners on the frame.blend. We used the frame to hold a bit of journaling on the top left edge.

- That’s it!


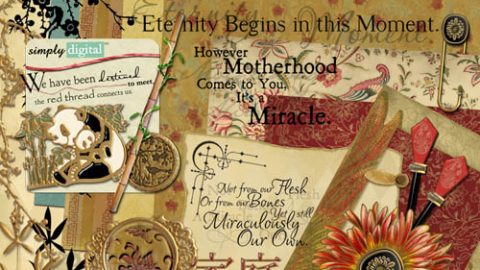
In this next two collages, Marie creatively used Frame.Blends to accent her word art.


For the soft piece below, I combined a painted Click.Mask with a Frame.Blend trio for extra softness. Works well with baby shots.

Note: our What’s New newsletter went out Friday afternoon, with a great sale on all Element Paks (including the Frame.Blends), coupon code, and lots of new products!
And, here are more ideas using Frame.Blends from our team. All layout details in our Frame.Blend gallery here.


Happy creating! Michelle and team