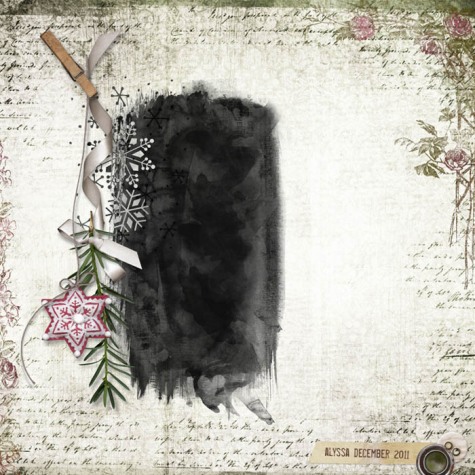
michelle shefveland. layout details here
I so love how deep red pops in a snowy photo! This coat was Alyssa’s Christmas gift last year, and for how much I love photographing it, it seems it was my gift to myself!
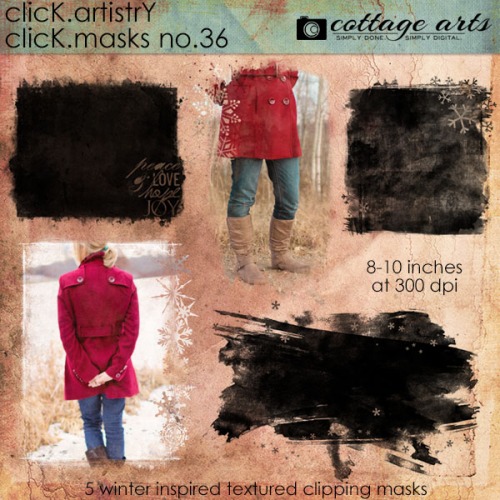
Our newest Click.Masks 36 make for fun wintry blending. Having white in the background paper behind them really makes the the snowflakes in them pop.
The layout above really is a snap to create, as the click.mask does all of the work.
Here’s how using Adobe Photoshop or Photoshop Elements:
- Open a 12×12 paper (we used 01 from Evergreen Dreams)
- Open your desired elements and word art, like our Evergreen Dream Danglies. Drag and drop them onto the paper. Position and resize as desired with the Move Tool.
- Open click.mask (we used 01 from set 36). Drag and drop onto your layout. Position it as desired.
- Open photo. Drag and drop onto your layout. Position over the click.mask.
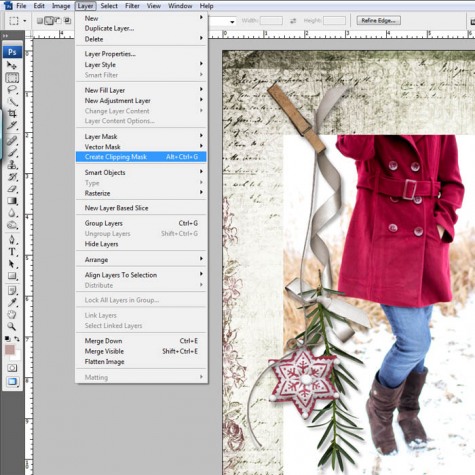
- Clip photo to click.mask (select>Layer>Create Clipping Mask)
- Enjoy the painted texture and wintry accents of the click.mask!
That’s all there is to it!
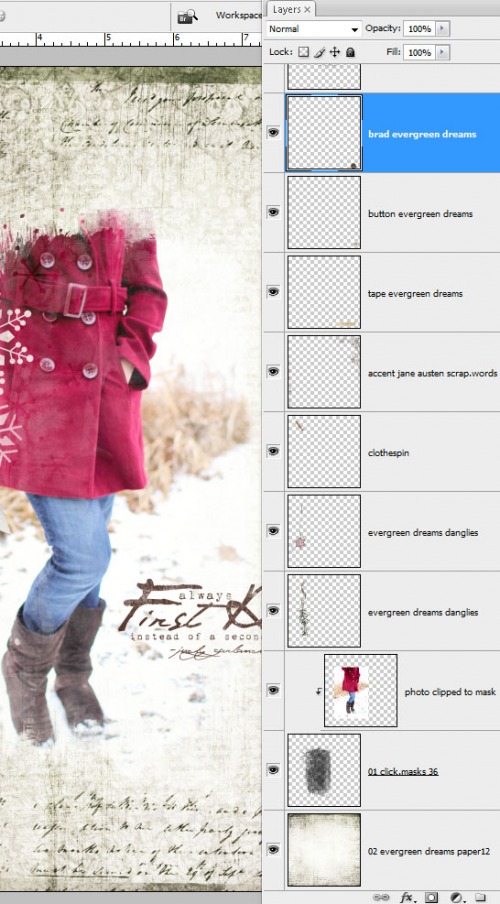
Here are all of the layers that make up this digital layout:
Happy creating! Michelle and team

