
|
|
Quick and Easy Photo
Effects using
![]()
(Jasc Paint Shop Pro®,
Corel® PHOTO-PAINT,
Ulead PhotoImpact 7 and higher, and Microsoft® Picture It!® Digital Image
Pro would follow similar instructions)
|
This technique allows you to quickly and easily add photo tints, filters and edge effects to your photos. What you’ll need:
You’ll learn how to make: Adding automatic photo or image effects using Layer Styles and Effects.
|
|
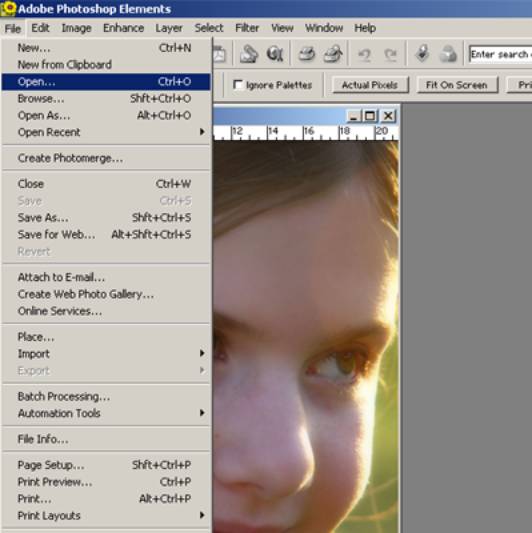
Open Adobe Photoshop Elements (PSE)Open Photo within PSE
|
|
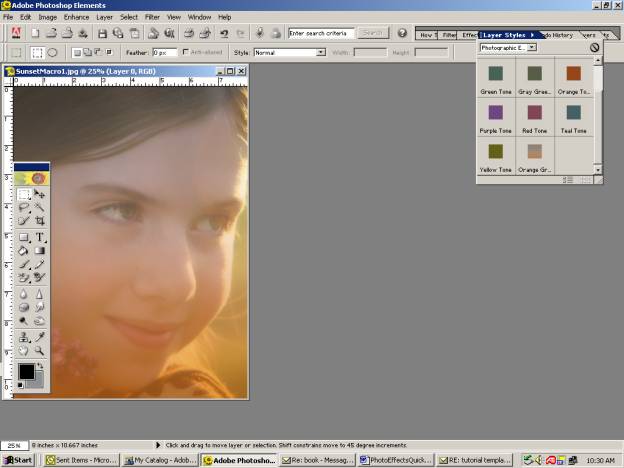
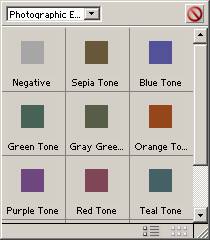
Photographic EffectsTo select go to the Palette Well – choose Layer Styles (Or select Window – Layer Styles). Click on the drop down box and select Photographic Effects. The Photographic Effects tint your photos automatically with one click. In this example, the Orange Gradient was selected. Other choices are:
|
|
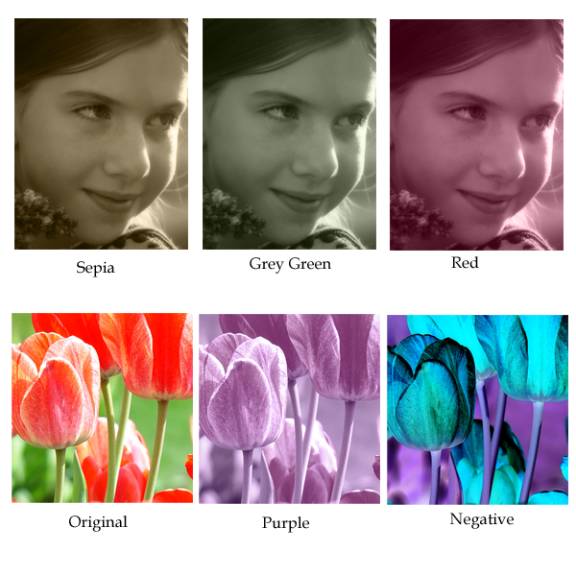
Examples of Photographic EffectsWith just the click of a button, you can get multiple effects.
Tip: To clear the effect click on the clear styles button (red circle with line).
|
|
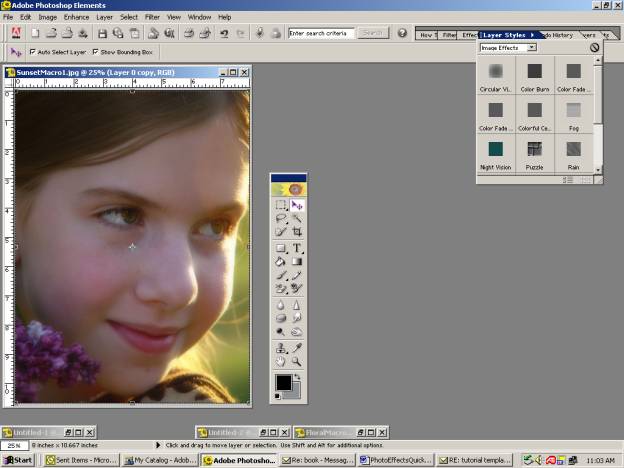
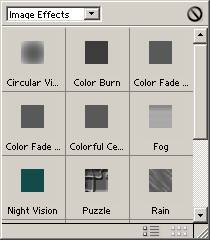
Image EffectsTo select go to the Palette Well – choose Layer Styles (Or select Window – Layer Styles). Click on the drop down box and select Image Effects. The Image Effects add filters to your photos with one click of a button. The effects to choose from are:
|
|
|
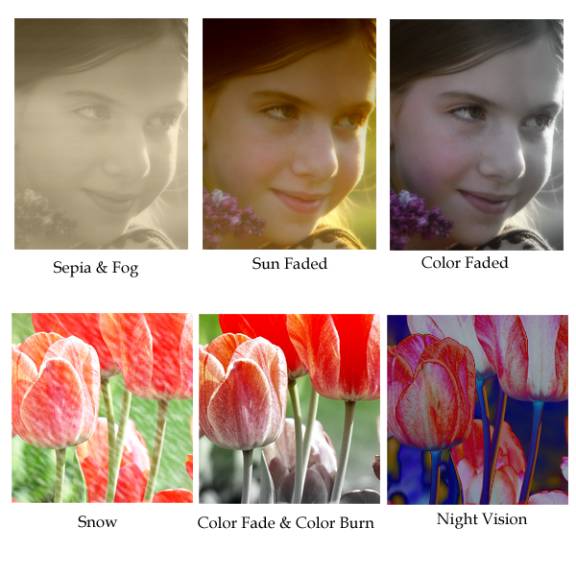
Examples of Image
Effects With just the click of a button, you can get multiple effects.
Tip: You can add effects on top of each other. For example, select the Photographic Effect Sepia and then select the Image Effect Fog. This is a great way to play around and see all the ways you can change your photos. If you don’t like how it turns out, just click on clear styles and start over.
|
|
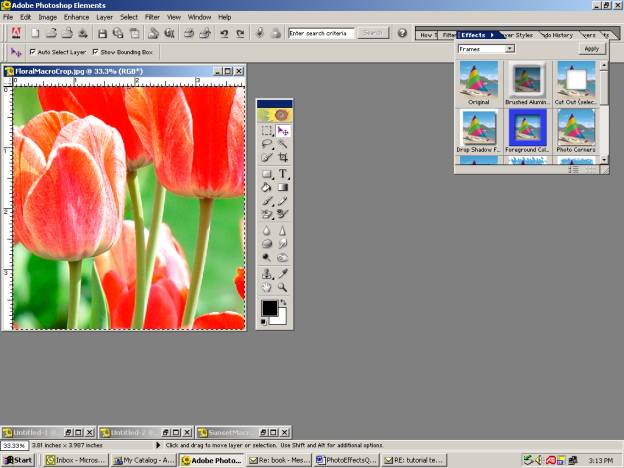
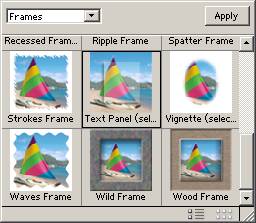
Photo Frame and Edge EffectsTo select go to the Palette Well – choose Effects (Or select Window – Effects). Click on the drop down box and select Frames. Effects add edge effects or frames to your photo with a few clicks of your button. Click on the Frame you would like to use and click on the Apply button. All of the steps required to complete the task are automated and run automatically for you
|
|
|
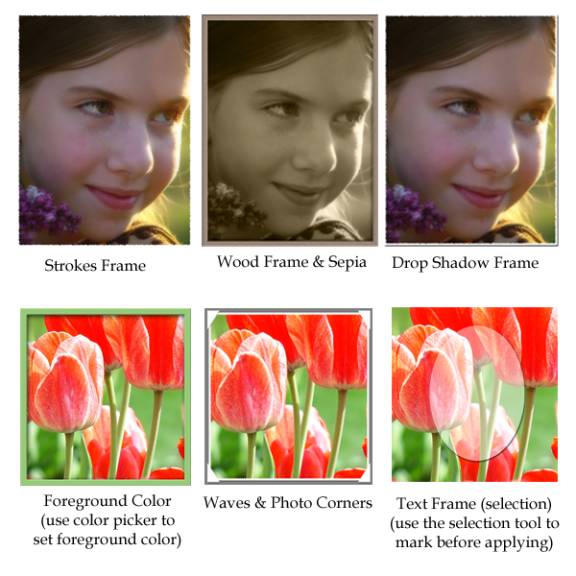
Examples of Frames & Edge Effects The best part about using Effects – Frames is that it automatically frames the pictures, adds bevels, drop shadows, etc, to give a realistic look.
Tip: Effects from the palette well will apply the choice to the whole image – not just a layer. The first two effects above (photographic and image effects) are actually layer styles, and will apply only to the layer selected and can be removed or edited at a later time. |
|
Copyright 2004, Karla Terry, Photography by Michelle Shefveland, CottageArts.net, All Rights Reserved