
|
|

Making
Layer Invisible and Adding Custom Text:
Tutorial 4 in a series
of creating a custom layout
(Jasc® Paint Shop® Pro, Adobe® Photoshop®, Corel® PHOTO-PAINT,
Ulead PhotoImpact 7 and higher, and Microsoft® Picture It!® Digital Image
Pro would follow similar instructions)
|
This tutorial is the fourth in a series of small tutorials guiding you in creating a custom layout using the Simply Digital scrapbook templates, which are in PSD format. Here is a breakdown of the steps this series will cover:
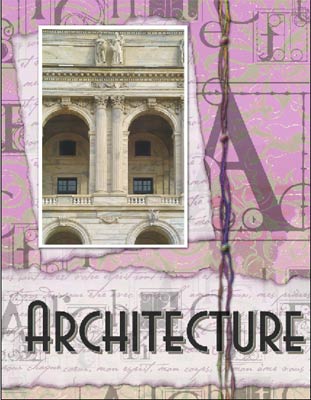
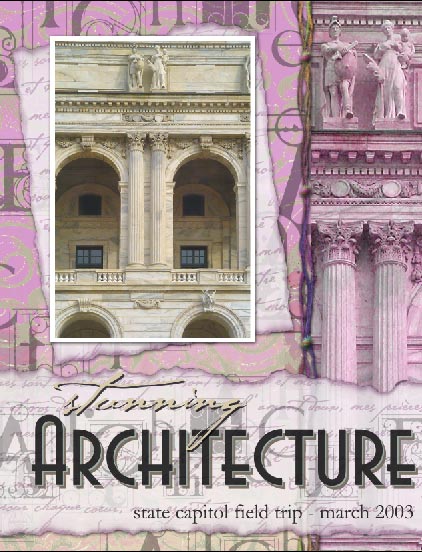
Supplies needed: Adobe Photoshop Elements 2.0 Simply Digital Template CD (tutorial uses Simply Vacations CD) This tutorial continues right where "Tutorial 3: Drop Shadows and Border Strokes" left off, a layout with a photo that has a white edge and soft drop shadow. The template, "Architecture" from our Simply Vacations CD came with a sample title, torn papers, mats, and fibers, so all that is needed is to add the finishing touches of personal journaling. |
|
|
Delete Sample Title or Make
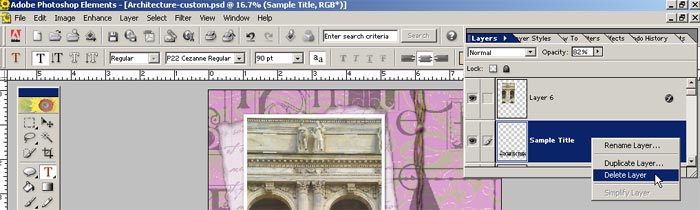
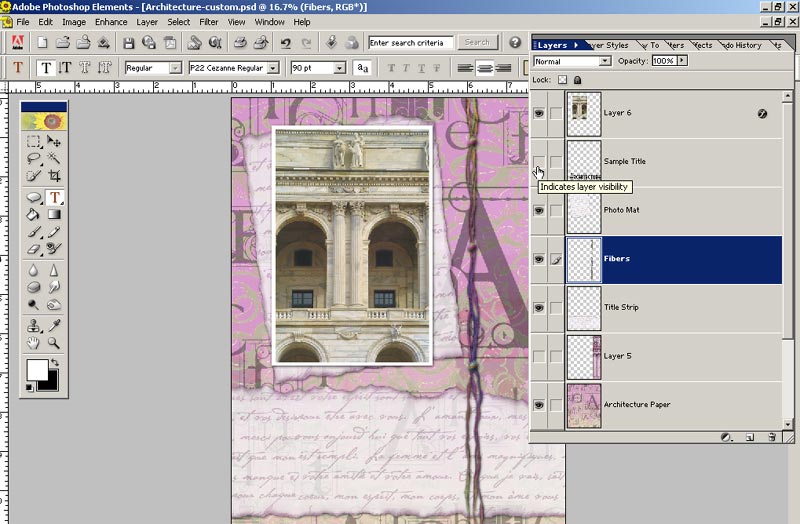
Invisible (Optional) All of our fully-layered PSD format templates come with a sample title and some even come with sample poetry. You may or may not want to use these in your custom layouts. As your computer system is unlikely to have the same fonts as our designers, we made the decision to rasterize (simplify) all text on the templates. That just means they are images and not text, so they can’t be edited. However, they can be resized and repositioned. If you want to use the sample titles / journaling as is, they will work just fine. Otherwise, just delete the sample titles and any poetry or sample dates. You can do this simply by selecting the Sample Title layer in the Layer Palette, right click and select Delete Layer. Select Yes when the dialog box asks you to confirm (as shown below). See our tutorial on deleting and duplicating layers for more detailed instructions. Another option is to make the Sample Title invisible by clicking the EYE image next to the specific layer in the layer palette and making it disappear. In this way, you can use it again by clicking the same box for the EYE to re-appear. See how the title is not visible on the layout with the EYE unchecked. |
Delete Sample Title:
or make Sample Title layer invisible:
|
|
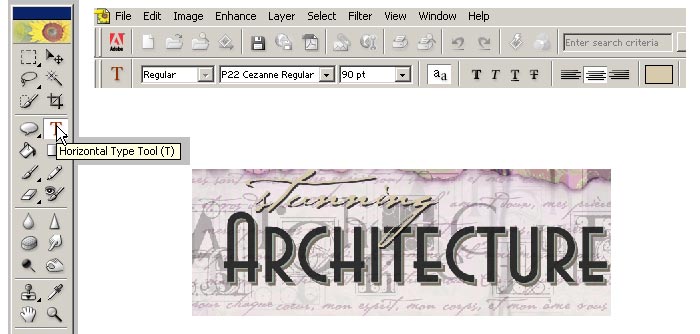
Add Title and Journaling In my case, I like the title "Architecture", but would like to enhance it a bit by adding the word "stunning" above it in a complementary script font: "P22 Cezanne" available from www.myfonts.com (a similar free font is Hannibal Lecter).
|
|
| See the final tutorial in the series on saving and printing your layouts...coming soon. |
Michelle Shefveland, CottageArts, LLC, Copyright 2004, All Rights Reserved