Layout credits: Everyday paper pak no. 17; Chevron Blends paper pak; Click.masks no. 26; Everyday paper pak 18; Word Travels InstaArt; Everyday paper pak no. 13; Nature’s Sketchbook Love Grows Element pak; Encouragement Art Journal page pak; Winged beauty element pak; Quiet of my heart page pak; Everyday Scrap.Words. Alles von Cottage Arts; Fonts: Appareo-Light, cattleyascript
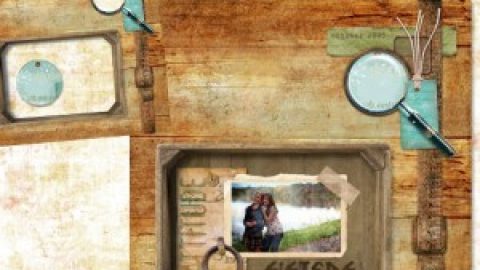
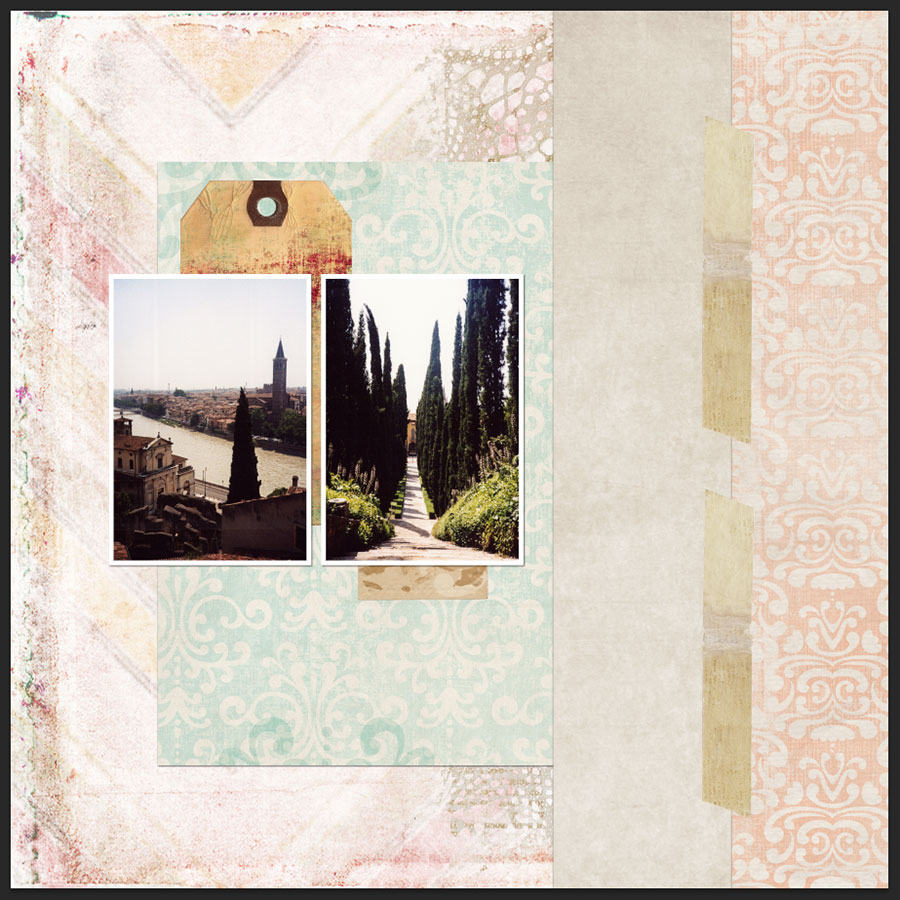
Post by Rikki Donovan. Hi, Rikki here, to show you a great, non-destructive way to make digital tape look more realistic. I have started this layout and added a piece of tape from the Quiet of my Heart Page Pak beneath the torn paper on the right.
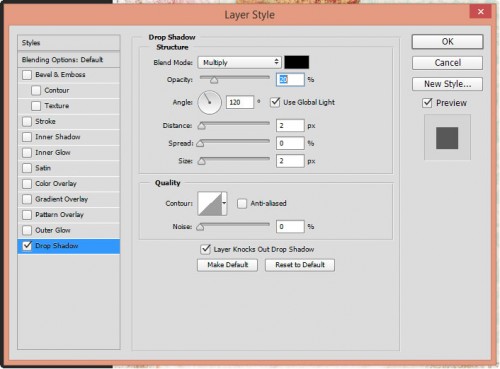
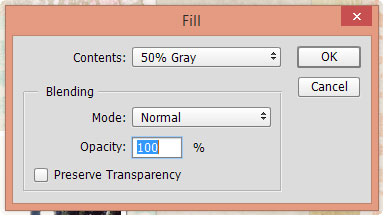
First give the tape a slight drop shadow. These are my settings:
Let’s show which paper is on top of the other, so you see which direction the tape is stuck on the paper. It goes from top right to bottom left.

To emphasize/show the edge of the paper underneath the tape you will use the dodge and burn tool on the Toolbar.

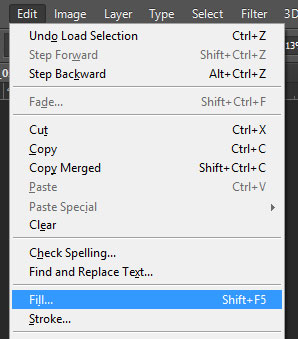
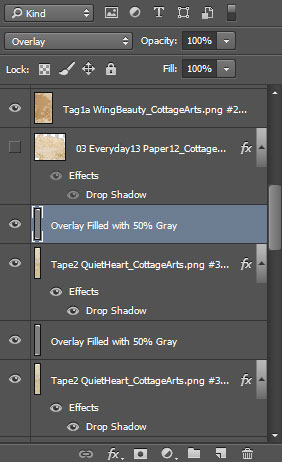
But before using dodge and burn you want to make sure your method is non-destructive. You create a layer above the tape, activate the new layer, ctrl+click on the tape layer so you see the marching ants around your tape and fill the empty layer above with 50% gray. That gray layer you set to Overlay blend mode. Now you cannot see the gray layer any longer.
The layers panel now looks like this
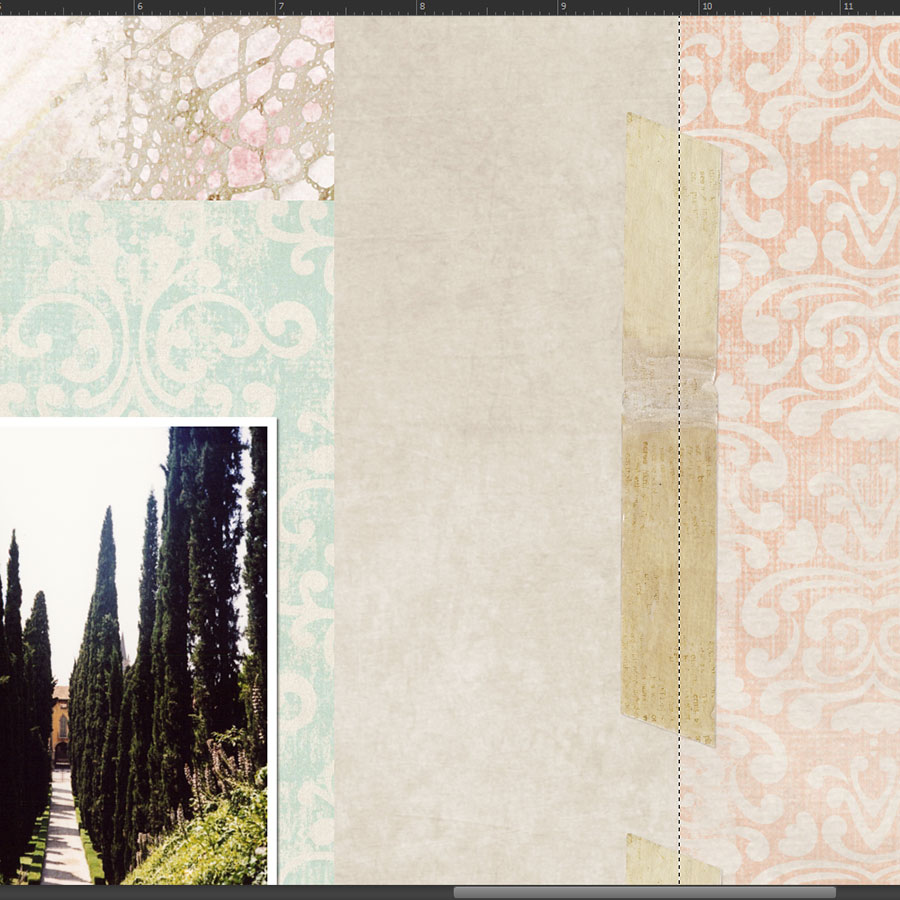
And the layout just like before

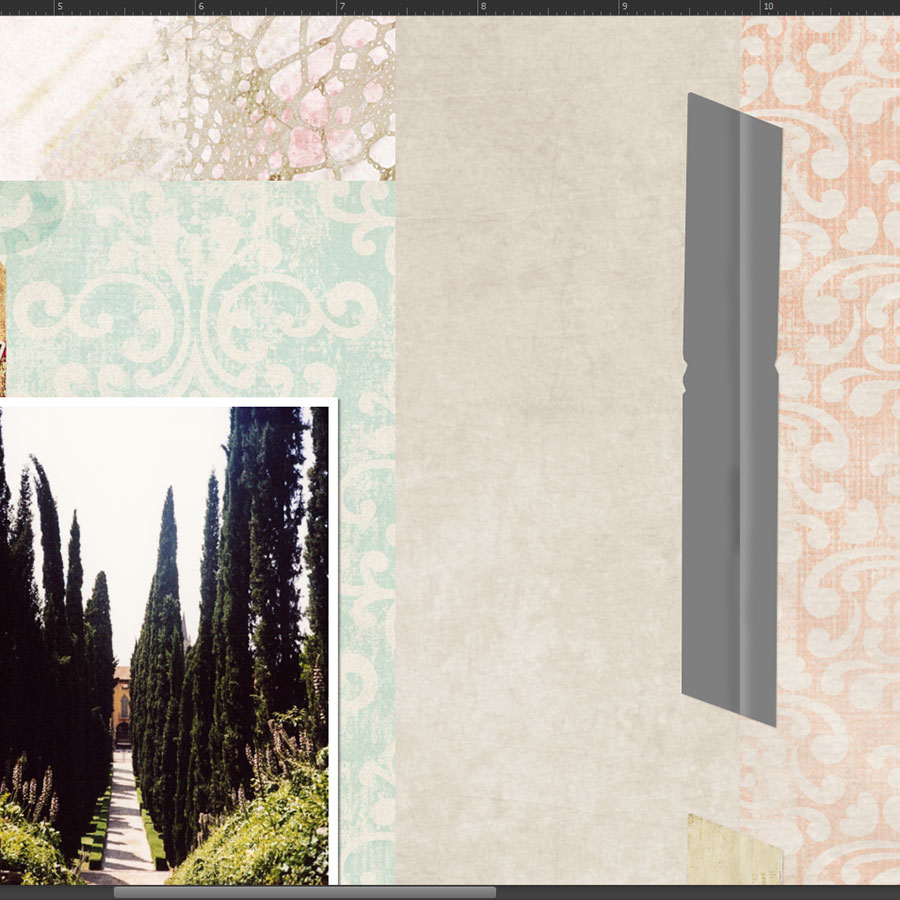
Now you ctrl+click on the paper that is on top to select it; you will see marching ants around it.
You activate the gray layer above the tape and choose the dodge tool. Here are my settings
![]()
You rather want to use low settings and repeat what you are doing instead of doing too much at once.
Now you dodge the tape along the ants within the selection, so that the side of the tape becomes slightly lighter.

Can you see the light edge to the right of the ants?
Now you invert the selection, so that the outside of the paper is selected (Shift+Ctrl+I) and choose the burn tool. My settings are like this
![]()
Here it is even more important to keep the settings low, otherwise you will end up with tape that looks just too dark to be real.
Now you burn the tape along the ants, this time on the other side, so the tape becomes a little darker.
Like so:
If you changed the blend mode of the gray layer to Normal it would look like this:
Now I treated my second piece of tape the same way and it looks like this:
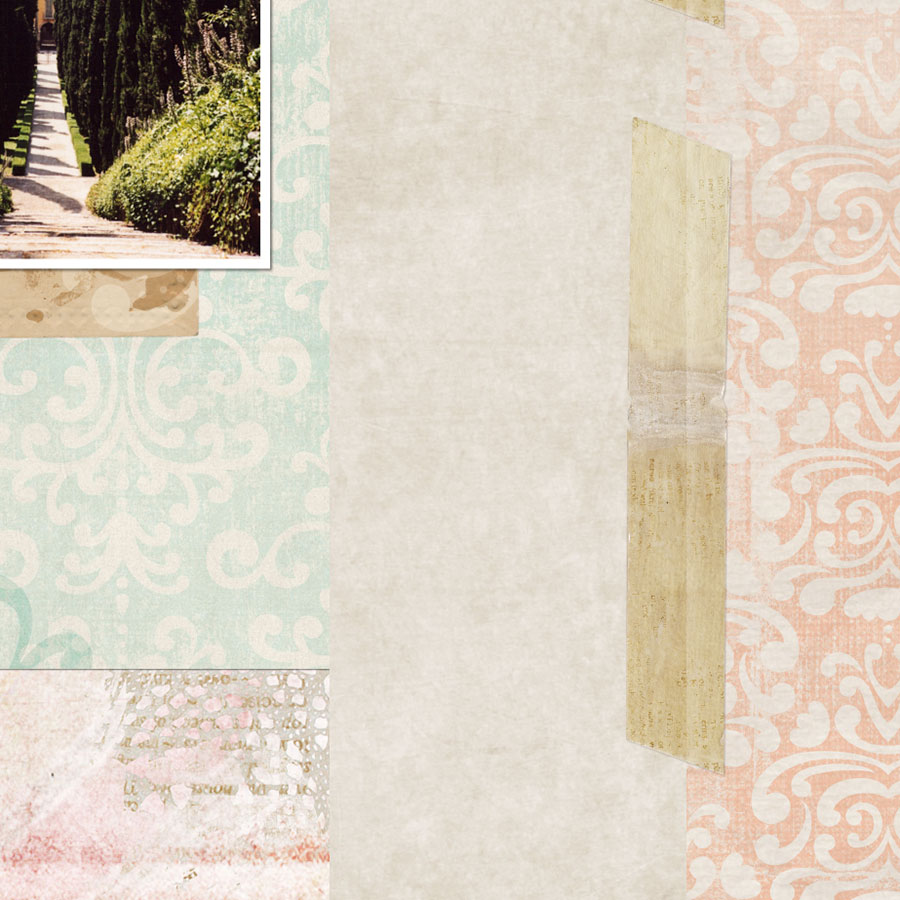
And here the two tapes together.

Now with all the layers visible again, this is my page so far. Doesn’t this look much more realistic?
Remember, if you find your tape affect too much, just lower the opacity of the gray layer a little to suit your taste.
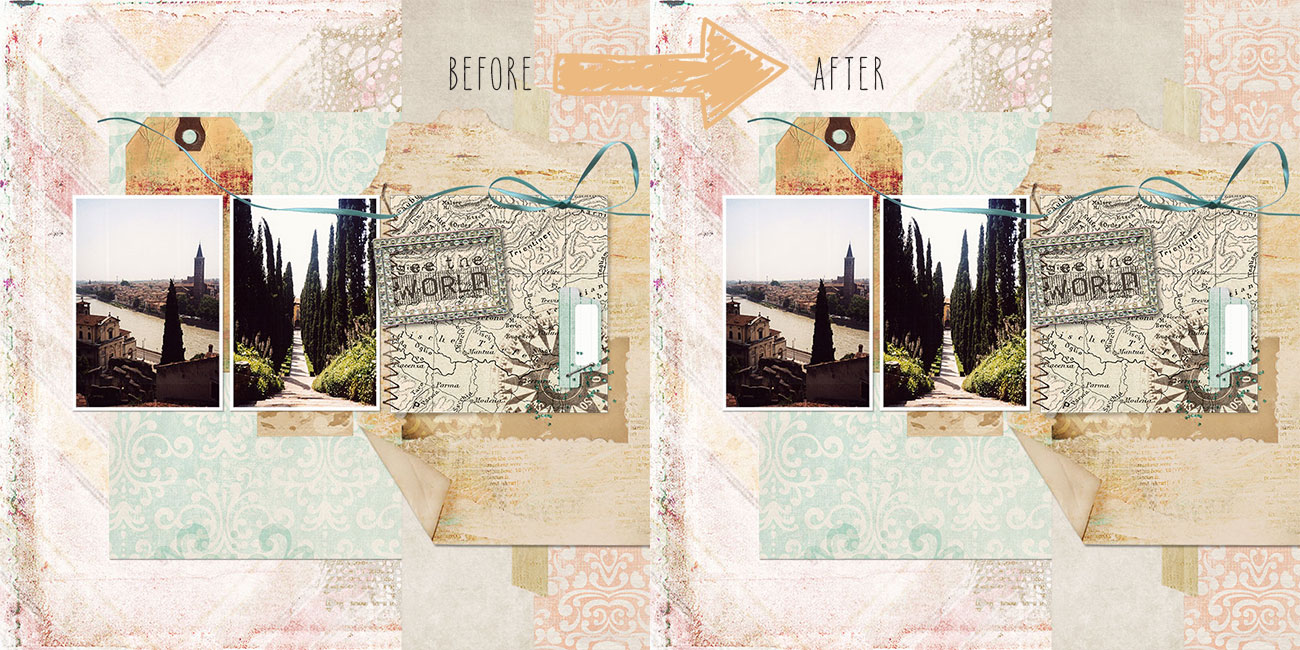
Here is a comparison of before and after
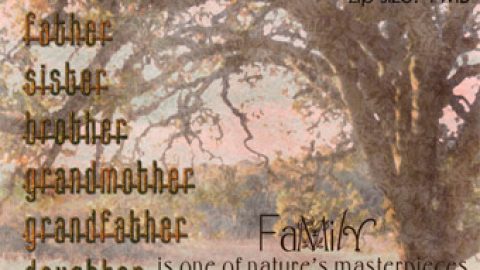
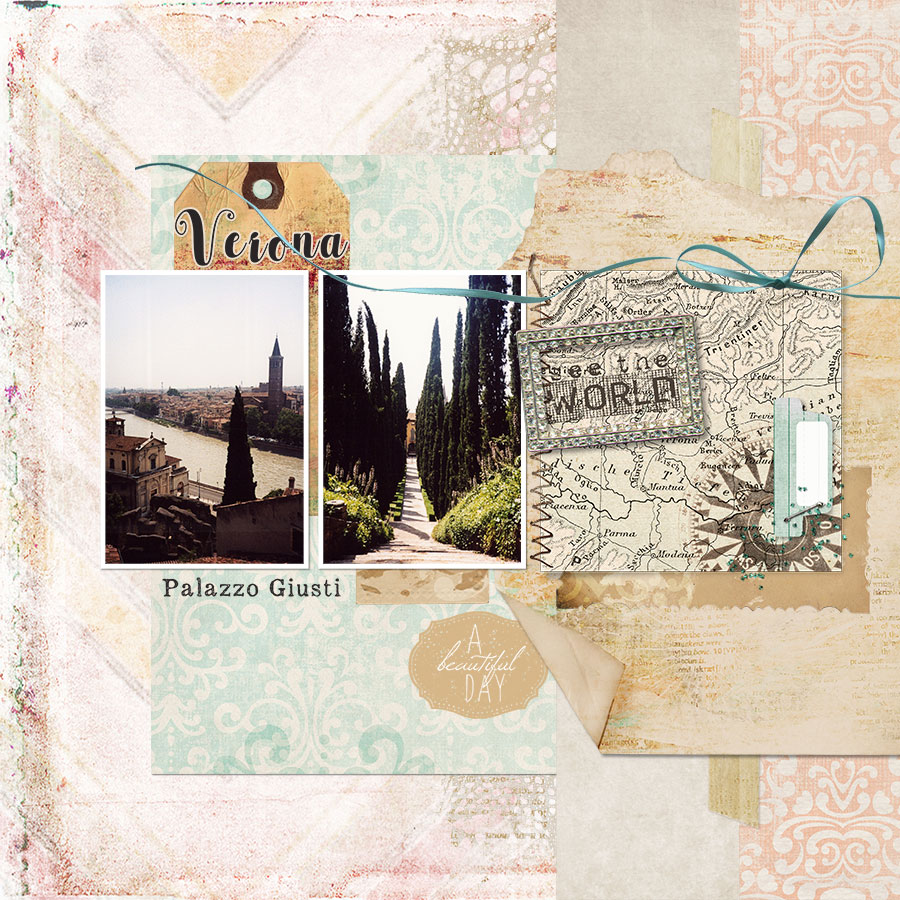
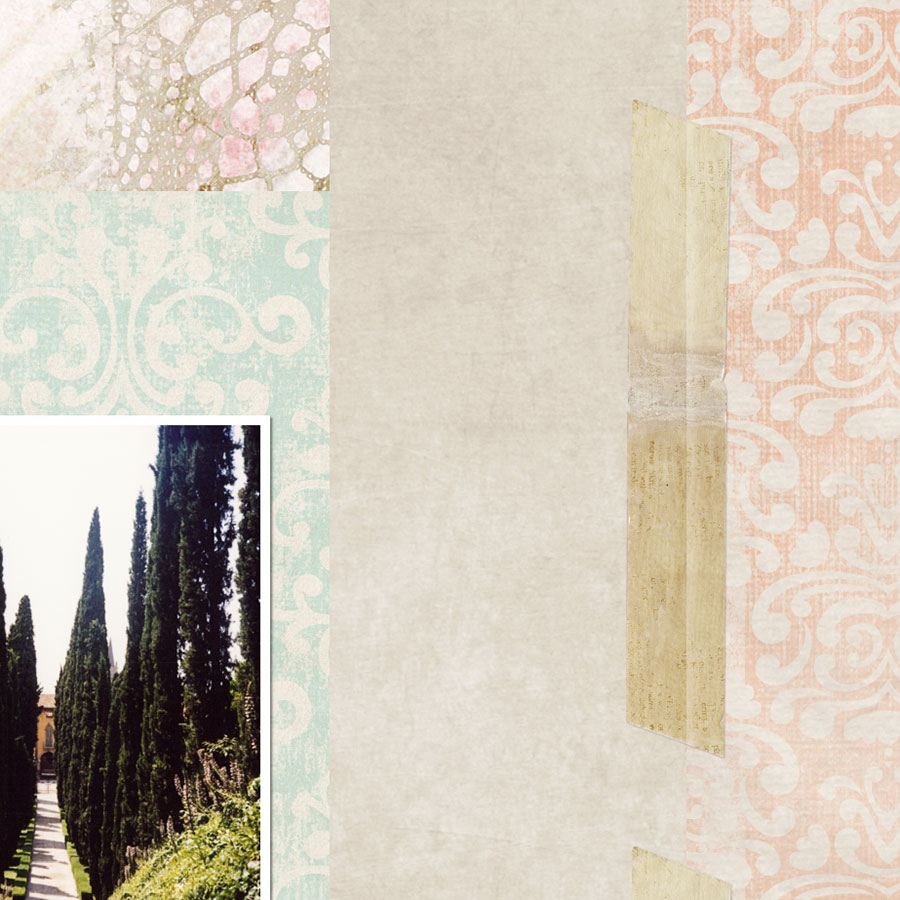
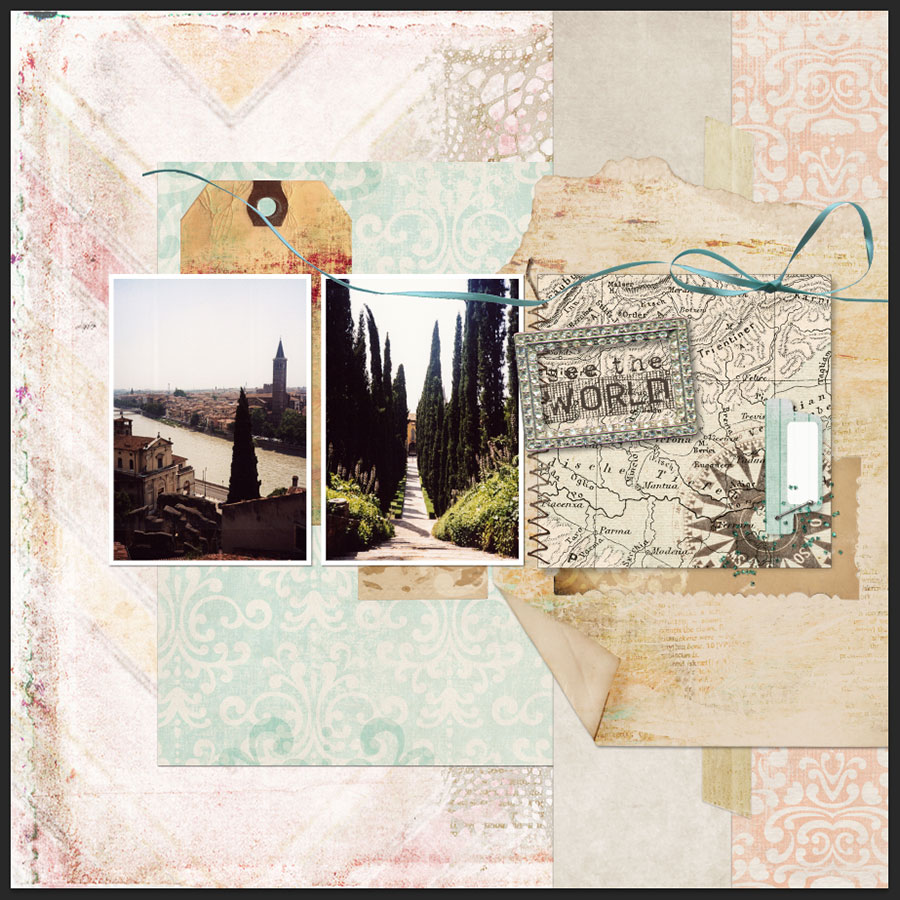
And this is my finished layout with a few more items and a title. Enjoy this simple yet useful technique!
Happy creating! Rikki and team