tonya regular
michelle shefveland
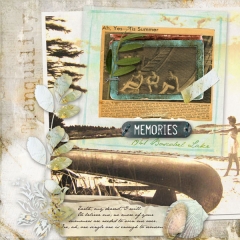
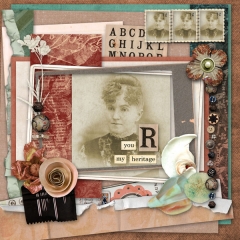
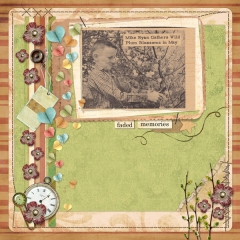
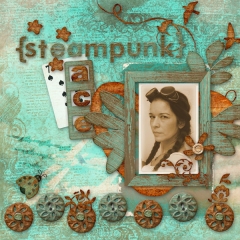
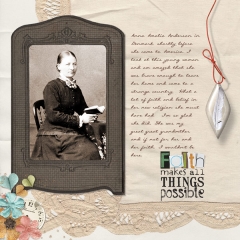
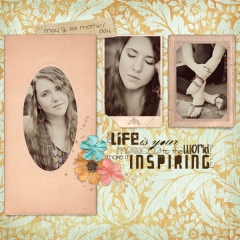
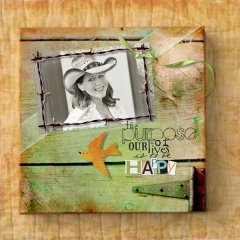
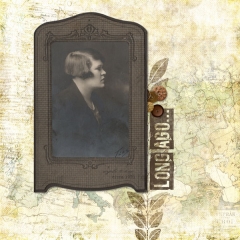
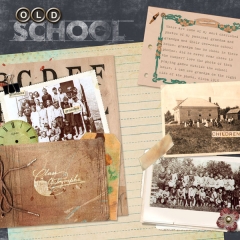
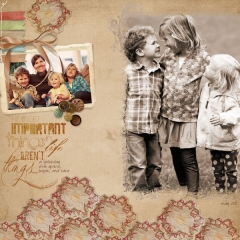
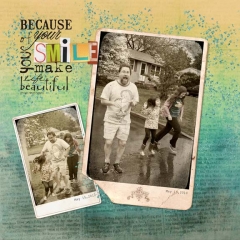
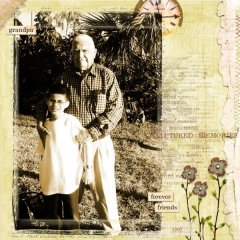
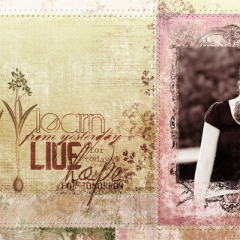
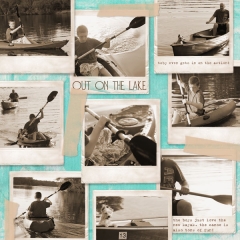
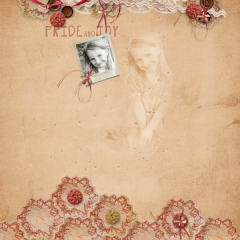
Sharing oodles of creations by the team using heritage photos or new ones edited to have a vintage feel…plus a how-to for replicating the effect in Adobe Photoshop Elements (similar steps in Photoshop Elements).
There are about a zillion ways (ok…slight exaggeration) to get similar end results with the use of any image editor or camera photo photo app, Adobe Photoshop Actions, Lightroom or Adobe Camera Raw Presets. Here are just two easy techniques using Adobe Photoshop Elements (Photoshop follows similar steps).
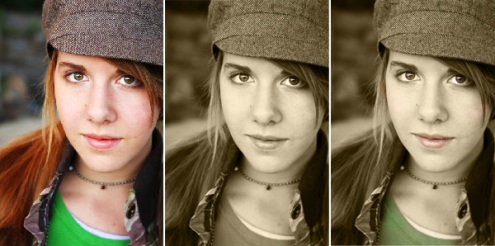
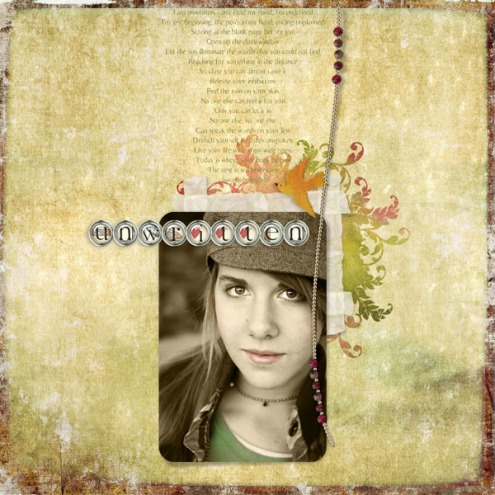
1. original 2. sepia version 3. tinted sepia version
- Open Photoshop Elements
- Open Photo (File>Open)
- Duplicate Photo Layer (Layer>Duplicate Layer)
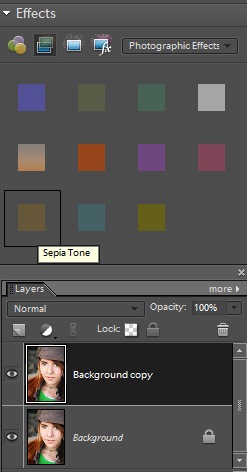
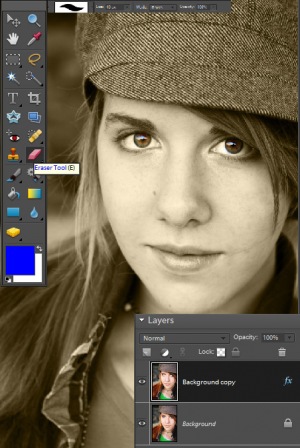
- Apply Sepia Tone Photographic Effect. In PSE 6 and above it looks as below (in PSE 5 and older it is found under Layer Styles>Photographic Effects)
- Save sepia image as high quality JPG
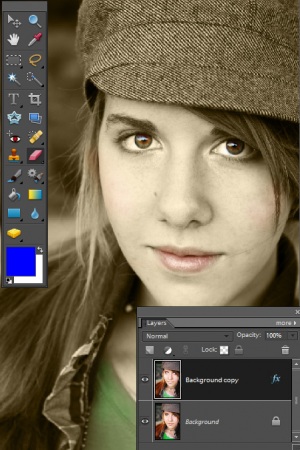
- Add tinting effect using a low opacity soft-edged eraser brush.
- Erase softly on sepia photo layer where you want color to come through: eyes, lips, cheeks, shirt.
- Save tinted sepia image as high quality JPG to different filename
supplies: Photo Art Blends 3, Scrap.Templates 20, Oldstyle AlphaSet
See another how-to on tinting your images on our blog here.
See details on the team’s beauties in the gallery here.

