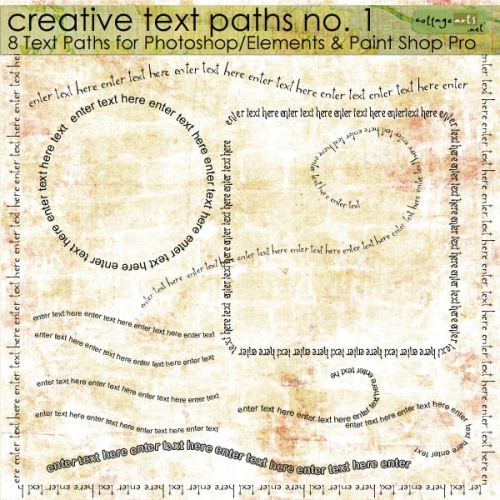
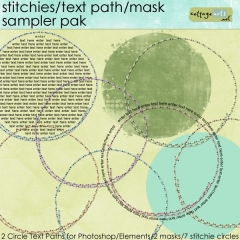
Hi everyone! Time for a text path tutorial with ideas from our creative team (layouts at end of post). Our Creative Text Paths 1 are available for Photoshop/Elements (psd format), as well as Paint Shop Pro X2 or higher (pspimage format), and help you whip up creative word art in a flash (the rest of our Creative Text Paths are only compatible with PS/PSE). I’ve written two step-by-step tutorials below…one for PS/PSE users and one for Paint Shop Pro users.
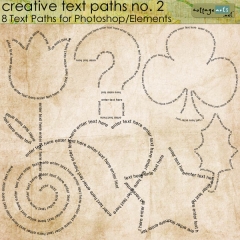
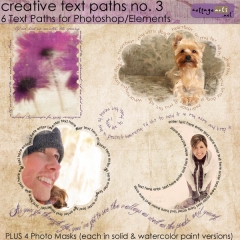
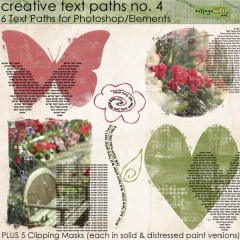
The rest of our Creative Text Paths are compatible with Adobe Photoshop and PS Elements but not Paint Shop Pro. Here are a few of our offerings.
With Adobe Photoshop or Photoshop Elements follow these few steps to use our Text Paths (tutorial uses Photoshop Elements):
- Open Photoshop or Photoshop Elements
- Open text path of choice in Photoshop-Photoshop Elements folder (.psd file extension)
- Open background paper and elements for page.
- Drag and drop (or copy and paste) text path and elements onto paper.
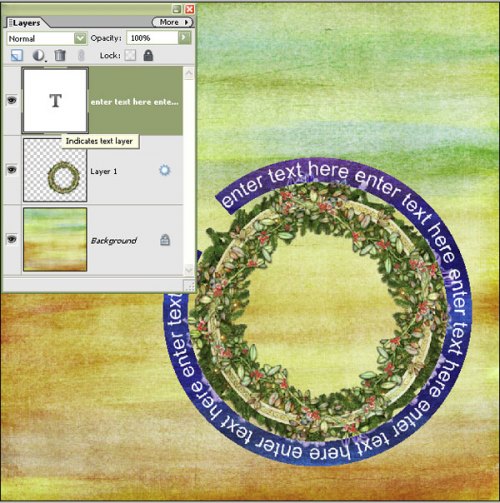
- Adjust size of text path with Move Tool (grab corner handle and drag, constraining proportions) to fit appropriately on your page. Since the path is a vector layer, you can increase the size of the text path (or decrease) without any loss of quality.
- Double click on text path layer in Layer Palette to select text path, activate Type Tool, and select sample text.
- Select font type, size, and color.
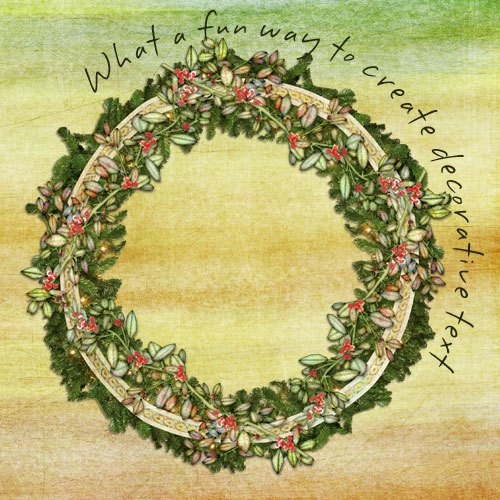
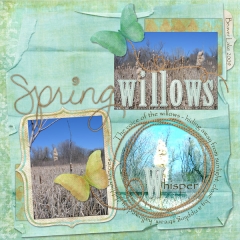
- Press Delete Key to delete sample text and start typing text (cursor will be placed at start of path). Type desired text. Depending on font and size you may need to play with spacing around sharp corners. Supplies: Nature’s Sketchbook Papers 2, Build-A-Frame 1, Creative Text Paths 1, Font: DesertDogHmk
- Finish layout. Save layout in .psd format throughout process to not lose your work and to be able to edit in future.
In Paint Shop Pro (version X2 and above) here are some specific steps for using Text Paths (thanks to team member, Tonya Regular, for assistance):
- Open Paint Shop Pro
- Open text path of choice in Paint Shop Pro folder (.pspimage file extension)
- Open Background Paper of choice (sample used is from Nature’s Sketchbook Papers 1)
- Select Text Path file to make it the active file
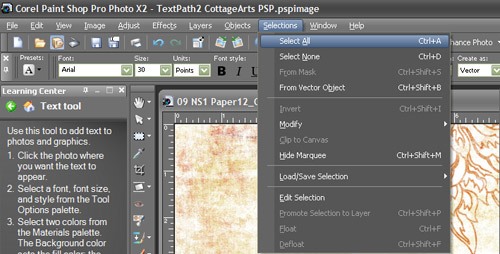
- Choose Selections>Select All
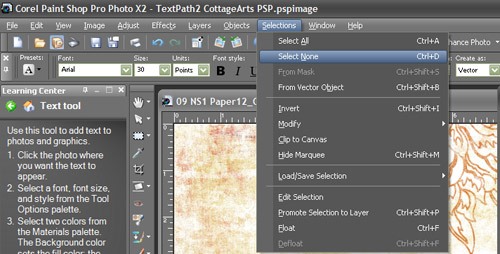
- Choose Selections>Select None
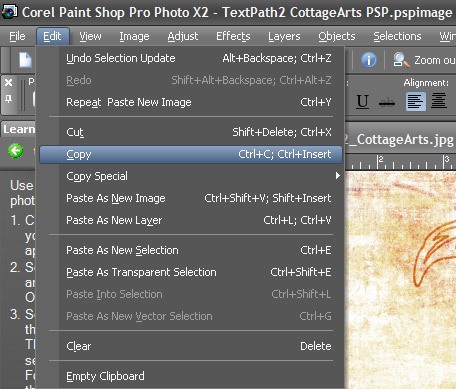
- Choose Edit>Copy
- Select Background Paper to make it the active file
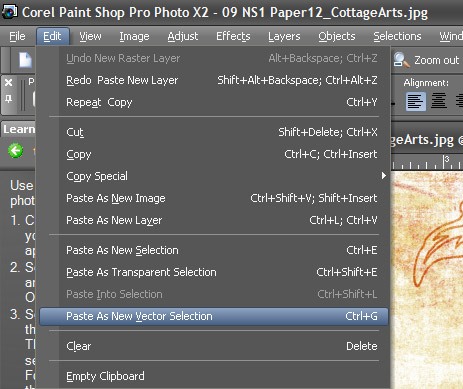
- Choose Edit>Paste as Vector Selection
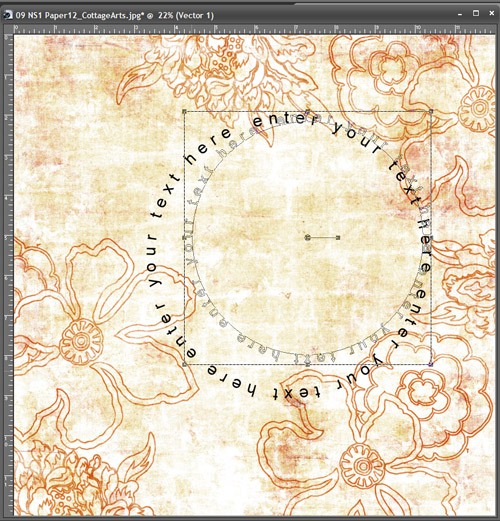
- Click and drag at corner handles to move and resize text path to desired size. I made mine smaller to nest inside the floral imprints.
- Select the Type Tool. Select font type, stroke width, font size.
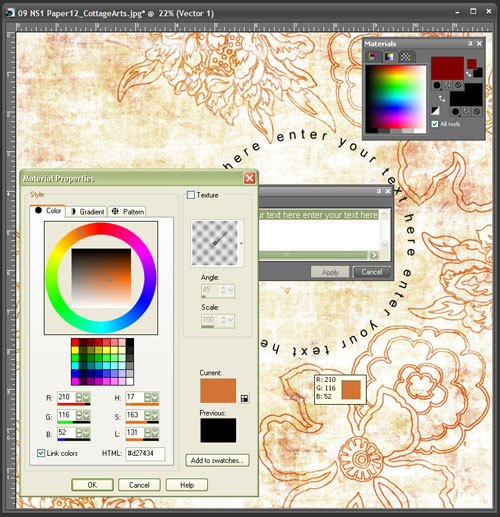
- Select font color by clicking on Background color swatch in Materials Palette which will bring up Material Properties Dialog. Use color picker tool to select text color from paper or color of choice.
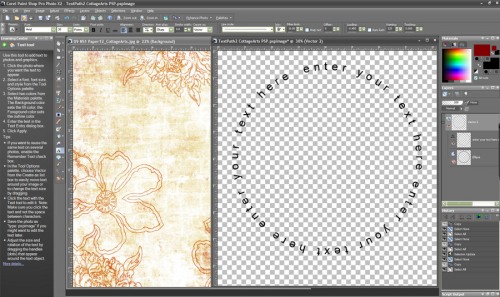
- With the mouse, hover over the sample text until you see the [A] icon. Carefully click to activate the edit text dialog, as it is pretty touchy and will start a new layer of text and type on a straight line if you don’t click the mouse at the correct spot (zoom in if you are having trouble hitting the [A] icon over the text).
- Make sure Warp Text box is unchecked in the Tool Options bar. This will prevent text from looking wonky on curves.
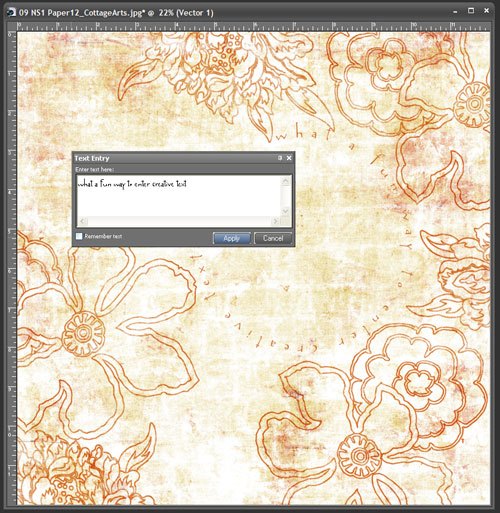
- Type your own text on the path (delete sample text in text dialog box if it doesn’t get over written by your text). Based on the angle of curves you may need to adjust word spacing, kerning, font type, or font size for optimal appearance. You can highlight individual words and change the font, font size, color for more decorative word art.
- Click Apply in the Text Entry Dialog when done editing text. Supplies: Nature’s Sketchbook Papers 1, Creative Text Paths 1 , Font: Avril
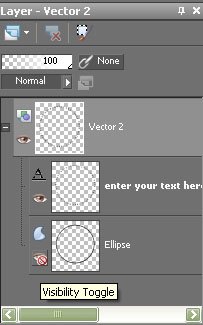
- To make sure the Vector Path line is invisible, select the vector/text layer in the layer palette. Click on the + sign next to the eye icon in the layer palette to expand the layer. Click on the eye icon next to the Vector Path layer (sample is named Ellipse) to make it invisible.
- Finish Layout. Save throughout process as PSPIMAGE file to enable editing in future.
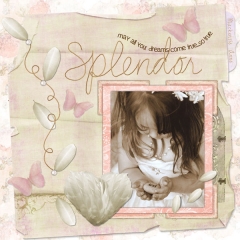
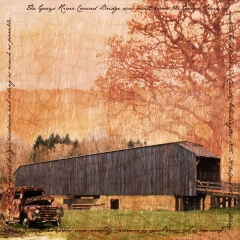
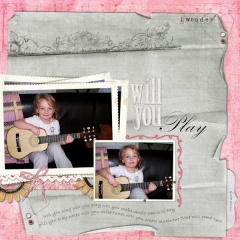
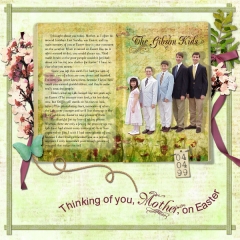
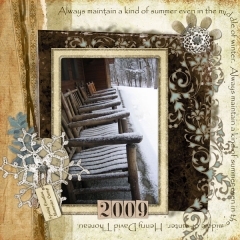
Below are the inspiring team layouts from our challenge. You can see full layout details in our gallery.
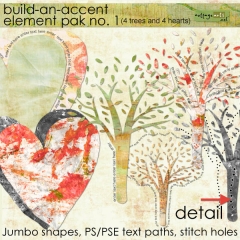
And, here are some more products with text paths (some do not have text paths for Paint Shop Pro – read product descriptions).
Keep Learning! Michelle

