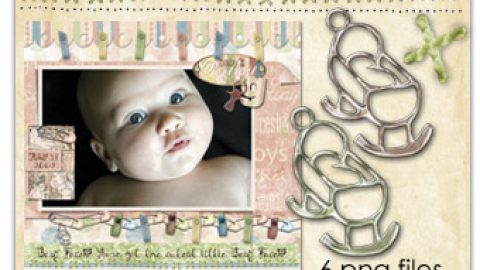
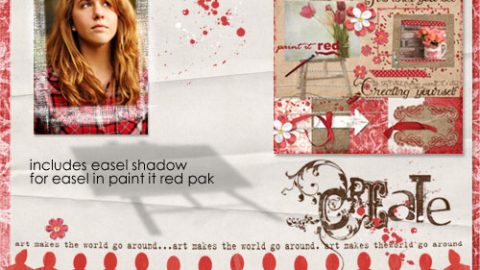
Halfway there! Hi ya’ll, it’s me, Rachel, here to share in the fun! It’s day 3 of our 4-day 10th Birthday celebration everybody. Today we’re enjoying the rich colors and textures of nature. New products in the shop include the Organics Mini Pak, a beautiful assortment of wooden and homemade elements & papers. Also, we have some really neat photo transfer frames, and coordinating Marbled Hues Papers which is today’s freebie (download link is at the end of this post). All included in the birthday sale. Check out some of the art below!


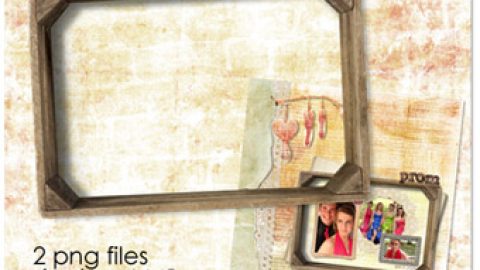
Okay so I am really excited to share this tutorial with you. You know how everywhere you look on Pinterest (if you’re not on it, get there!) there’s another DIY this, and “I made this for less than X dollars” that? Well look again, because I just made the coolest frame for free. Wait…what’s that? FREE!!!

This winter we were remodeling our kitchen and looking for new flooring. Most home improvement stores provide free samples of their wood and laminate flooring (I think some might charge a nominal fee), so we ended up going home with 8 4×4 wood tiles from our little shopping expedition. After we decided on a flooring, we just had all these samples lying around. Honestly I thought they were way cool, and quickly my mind began churning with thoughts of DIYing with them. And this is what I came up with!
The frame was incredibly easy to assemble; it probably only took about 5 minutes tops. Here are the steps if you are interested in making one of your own. Which of course you should!
- Go get those tiles! (8 if you are doing a 12×12 frame, 9 if you want to make more of a canvas-type thing) I can’t say for sure which stores will supply them, I can only vouch for Home Depot, but you will probably have luck at a number of large home improvement stores. Mix and match textures, colors, and materials!
- Buy or re-use a 12×12 canvas or board or mat or anything that is 12×12 inches. We had an old outdated art print which my father was about to donate, but thank heavens I snatched it back at the last minute. Whew.
- Heat up your glue gun! While you’re waiting, arrange 8 tiles around the outside, make sure you like how it looks, because once you glue them down, you’re stuck. Pun intended.
- Apply the glue to the back of the tiles and place them down where you’d like, but make sure you leave the middle space blank so you can place a photo there! Press and hold the tiles down so they really stick.
- Print a 4×4 photo, or cut a larger photo down to size. Use a paper friendly adhesive, like tape, to secure it place. You don’t want it to be permanent, because you will mostly likely want to change it in the future. We used a vintage photo of my great grandparents (not square).
- You are done. Stand back and marvel at your thriftiness.
Wait, I’m not done! You can also save yourself a trip to the store by following my directions on how to make a mock version of the above frame.
- Go the Cottage Arts Shop and download the Organics Mini Pak. Included is a digital version of my homemade 12×12 frame.
- Print it out with your printer. Or get it printed professionally and have it mailed to you, which will also save you a trip if you’re a home-body like me.
- Buy or re-use a 12×12 canvas. Using a paper friendly adhesive (rubber cement or Mod Podge may come in handy here) apply the paper to the canvas.
- Print a 4×4 photo, or cut a larger photo down to size. Adhere this to the blank space in the middle.
- There you go! Totally awesome and you didn’t even have to leave your home. How cool.
And, if that wasn’t cool enough, I also made this new photo clothesline in my room. I printed one of the new scrap.frames from set 27 to use with the right most Italy image.
See more Get It Printed posts here.

Below is today’s freebie! Have fun and we’ll be seeing you for the final day of our birthday celebration tomorrow! Rachel and team
PS. Click the link to see our Going Organic Pinterest board which is sure to fill your dreams with making things from pallets, sticks, or tree trunks. (Yeah yeah I’m a hippie, I know.)

Marble Hues Paper Pak Freebie Download
(4 jpg files – 10 MB zip file – expired Monday, 4/29/13 at 8:00 am CT)
Oh, and don’t forget to read the newsletter for details on how to enter our prize giveaway! Another newsletter is going out Sunday morning, if you missed Friday’s. Enjoy!