
|
Enhancing a photo to
give it a soft focus |
Here is a cool tutorial written by design team member Leila Schweiss, which shows you how to take a photo, change it to black and white, and add a soft focus.
-
First, crop the photo tightly to the face of your subject.

-
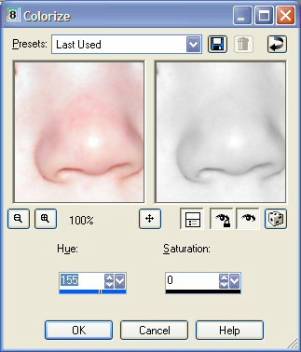
If your photo is in color, select Adjust, Hue and Saturation, Colorize. The number for hue doesn’t matter. Set the saturation number to zero.
-
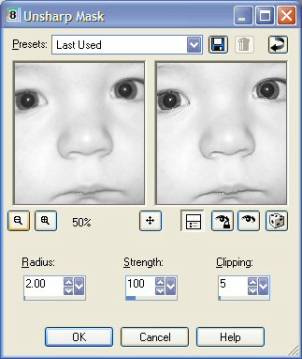
Now, select Adjust, Sharpen, Unsharp Mask. Use default settings and press OK.
-
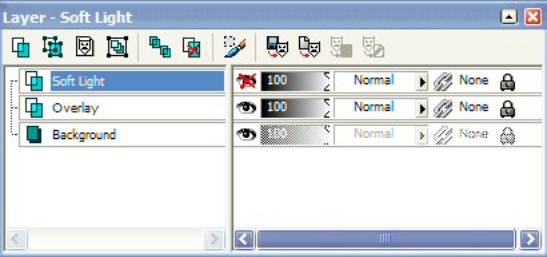
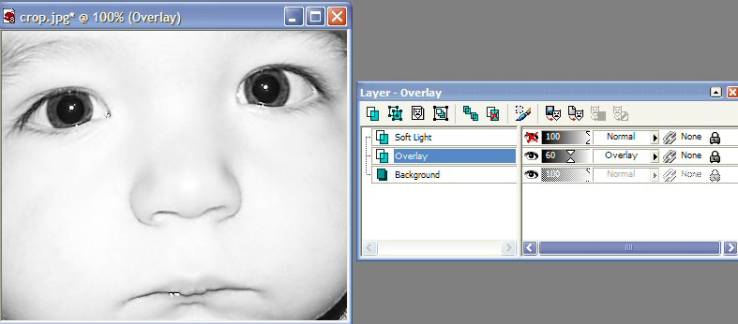
Duplicate your background layer twice. Rename the middle layer “Overlay” and the top layer “Soft Light” Click the eye next to the Soft Light Layer to make it hidden.
Your layer palette will look like this:
-
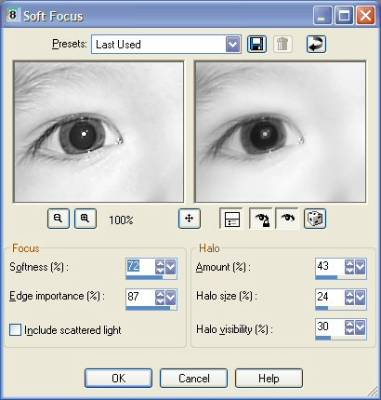
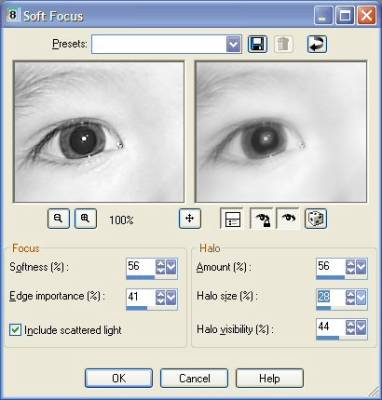
Next, highlight the layer named Overlay, then select Adjust, Softness, Soft Focus. I made the settings as seen here:
-
Change the Blend Mode to Overlay, and set Opacity to 60
Your image and layer palette will look like this:
-
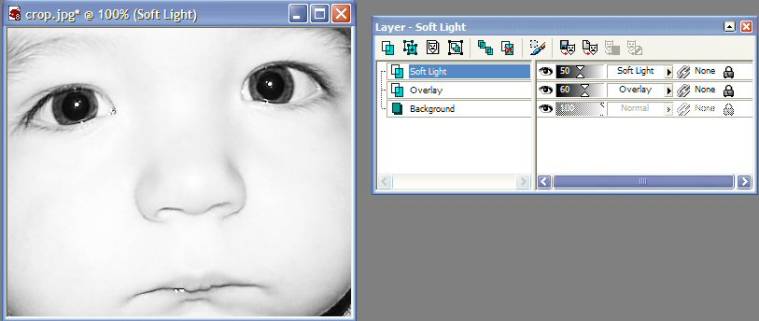
Highlight your Soft Light Layer and click the eye icon to make this layer visible again.
-
Now select Adjust, Soften, Soft Focus. This time I made the settings as shown below:
-
For the finishing touches, change the Blend Mode to Soft Light, and the Opacity to 50.
The effect will look like this:
-
To finish, select Layers, Merge, Merge All (Flatten).
Your final image should look like this:

-
I played around a bit more and added soft focus again, as well as a slight blue tint. Below you can see the before and after images.

I hope you enjoy this technique.
Leila
Copyright 2003 Leila Schweiss