|
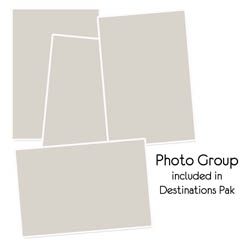
Photo Groupings
are a simple way to create a
collage of framed photos easily.
To use the Photo Grouping included in the Destinations Page Pak, we will show you how to Paste Into a selection using Adobe Photoshop CS. Photoshop Elements is very similar.
1. Purchase, download, and unzip Destinations Page Pak.
2. Open Adobe Photoshop.
3. Select File>Open and browse system for where you saved the download pak. Click on Embellishments folder, then select the PhotoCollage_CottageArts.png file. Click Open. Also open a background paper of choice in the Papers folder
4. Drag Photo Grouping onto background paper to begin building your page.
4. Open four desired photos using steps in 3 above.
5. Select first photo. From menu, select Select All, then Edit>Copy.
6. Select layout image to make active. Click on Photo Grouping layer. Use your
Magic Wand Selection Tool from the Toolbar and select
inside the photo frame you
would like to add your photo (make sure Contiguous is checked on tool options).
You will see "marching ants"
that look like a blinking dotted
line around the area you have
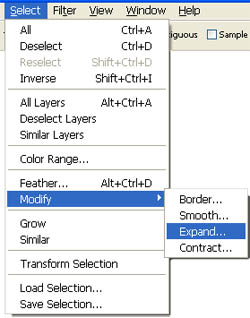
selected. Widen
this area to ensure full
coverage, by selecting
Select>Modify>Expand and choose
a small amount such as 2 pixels.
7. Select Edit>Paste Into Selection. Your photo will be placed inside the frame area you have previously selected. Before you click Accept (check mark), select the Move Tool to rotate and resize this photo so that it looks proportionate to the layout and that it fills the space entirely. Click Accept when satisfied. Click Select>Deselect (Ctrl-D on PC) to remove selection.
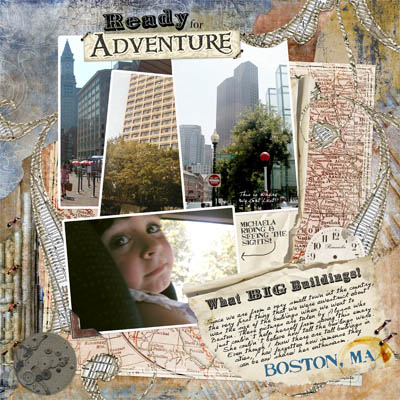
8. Repeat steps 5-7 for remaining photos. Add journaling, title, and desired elements to complete the page. Save as layered .PSD to allow future editing of layers.
Have fun
with your photo group cluster. Try
rotating it for even more
possibilities!
2004 - 2007 (C) CottageArts.net, LLC - All Rights Reserved |