Using Simply Digital™
Background Papers with
Microsoft® Digital Image Pro
In this tutorial, we’re going
to step you through the process of starting with one of our background
papers and adding elements to create a scrapbook page. You can also
print the background paper from your digital imaging/photo editing
software to use in traditional scrapbooking, if you desire, as the
papers are in 300 dpi full-size .jpg format.
Hopefully, by the end of this
quick lesson, you’ll feel comfortable:
Open Program and File:
-
Open Microsoft® Digital Image Pro
-
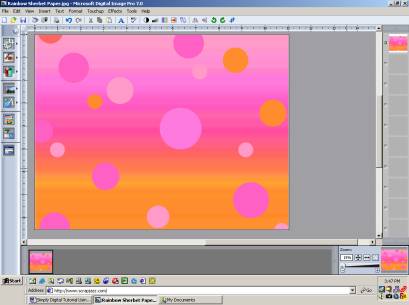
Open file: in this
tutorial, we’d like to start with the background paper, “Rainbow
Sherbet.jpg” on the Simply Fun CD in the 8.5 x 11 backgrounds folder
(or download it from our
free
samples page).
Click File/Open to select this file from the CD drive.
There are some new photo
albums on the market available to showcase your landscape 8.5” x 11”
pages, so let’s rotate the background paper 90 degrees to create a
landscape layout.
Save File:
-
It’s a good idea to save the
file to your hard drive at this point. Save image as .png (Picture
It! PNG Plus) file to retain layers. This file is compatible with
other digital imaging software packages, such as Adobe Photoshop
Elements (however, the layers are flattened when opened in another
package).
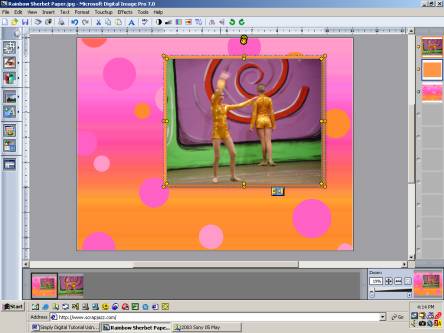
Add Photo:
-
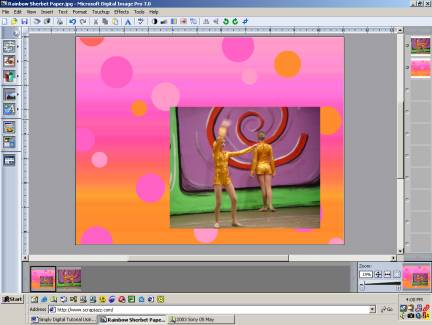
Insert / Picture / From My
Computer and select photo from your hard drive (or use other options
for other devices such as your scanner).
-
Photo will appear in main
window.
-
Click on bottom small image of
background paper to make it the active image, then click on small
photo and drag onto background paper in main window.
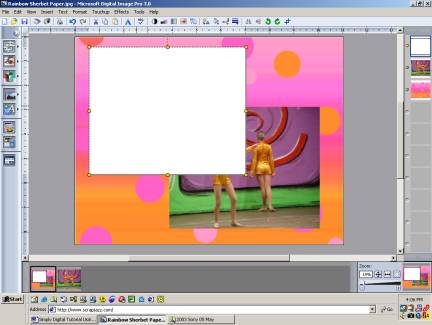
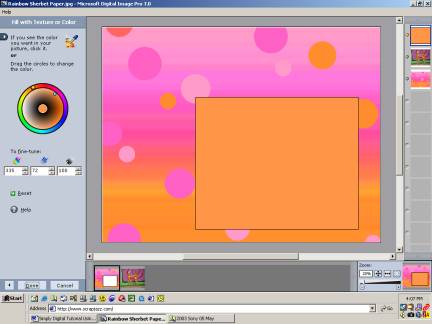
Create Photo Mat:
-
Click Insert / Shape /
Rectangle and then using mouse, draw a rectangle approximately sized
for your photo by clicking and dragging.
-
Change Color: Click on Effects
/ Fill with Texture or Color. Box will open on left side of screen
with color options.
-
Select “more solid color
choices” and custom color wheel will appear. Using mouse, move
pointer to portion of background paper or area of photo you’d like
color to mimic for photo mat.
-
Remove black outline around
shape: Click on Format / Shape or Line / Line Thickness / None / Ok.
Group (Stack) Photo and
Mat to move together:
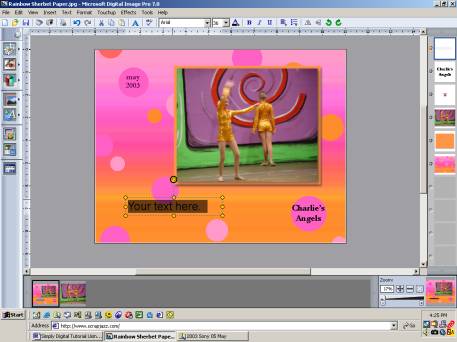
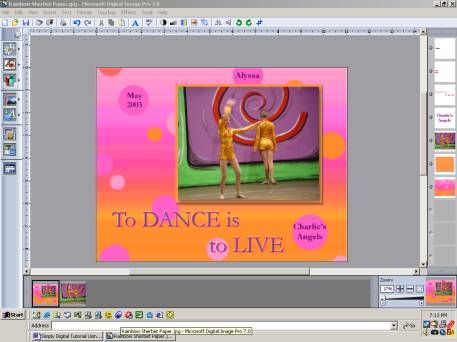
Insert Text:
-
Click on the “A” in the
menu bar to insert a text box, as shown below. Select preferred font,
point size, and text color.
-
Enter text.
-
Repeat for individual
journaling circles. In this example, we entered text in three of
them.
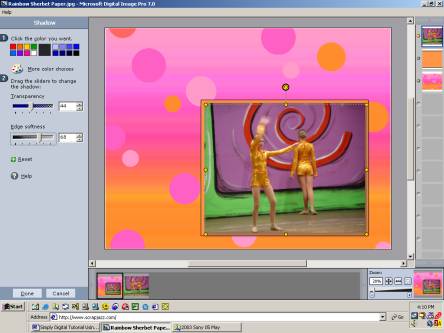
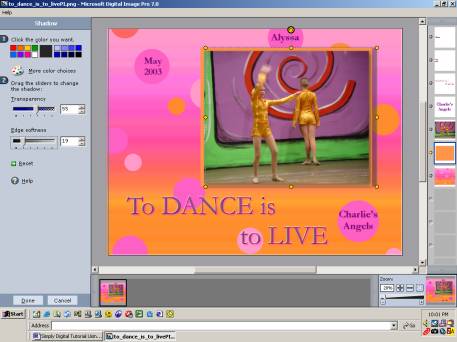
Add Drop Shadows:
-
To dress up the text, add drop
shadows. For the title, we added a coordinating fuschia drop shadow,
and for the journaling, lighter plum.
-
Click Effects / Shadow. A box
on the left side of screen will appear.
-
In our example, we used a Drop
Right Shadow.
-
Click on Customize Shadow and
adjust Color, Transparency, and Edge Softness. See our settings
below.
-
Repeat for Photo and all text
layers by first selecting specific layer and doing steps described
above.
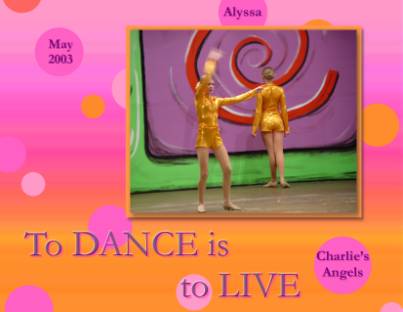
And, there you have it. A fun
layout full of great memories in a matter of minutes. Great Job!
Now, just save final image
again as .png (Picture It! PNG Plus) file to retain layers. If you
open this file in another package, such as Adobe Photoshop Elements
and the layers are flattened, save as a different name, so the layers
will be retained for use in Digital Image Pro at a later date.
|
|