|
Using Scrap.Edges
with Adobe® Photoshop® Elements
(Adobe® Photoshop® would follow similar instructions)
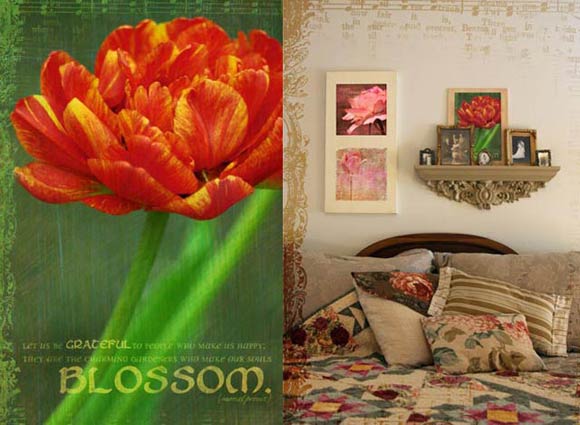
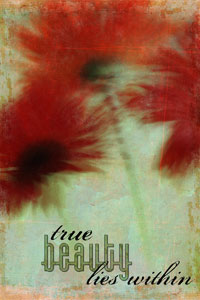
Photo art by Michelle Shefveland
- Supplies:
Naturals 7 Paper Pak,
Free Scrap.Edge (link below)
Scrap.Edges
Our
Scrap.Edges are artistic photo
edge overlays and Photoshop
Brushes, perfect for the
scrapbooker, photo enthusiast or
professional (see professional
use license purchase information
here)
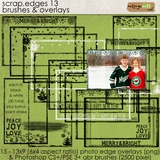
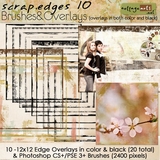
Here
are some examples of our
different Scrap.Edges:
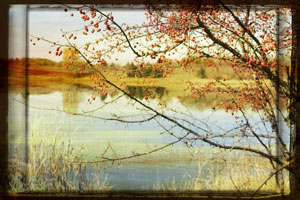
To turn a
photo into a unique collage, follow the simple steps
below.
Note: Instructions are in Adobe Photoshop Elements [PSE]. Adobe Photoshop CS+
and Corel Paint Shop Pro follow similar steps.
1) Download desired Scrap.Edge set
or free
CottageArtsScrapEdgeSampler.zip file.
Unzip.
2) Open Photoshop Elements.
3) Choose File>Open and browse to find the Scrap.Edge
file. Click Open.
4) Repeat Step 3 to open desired photo.
5) Drag the Scrap.Edge on top of the photo image.
6) Move and re-size the Scrap.Edge to fit the size of
the photo using the Move Tool. Note that the free Scrap.Edge
is in 4x6 proportions (at 300
dpi), but many will still look pretty good at other aspect
ratios. Those with word art should not be distorted into
other aspect ratios.
Your photo may look wonderful with the black edge.
However, we are going to take it one step
further and fill the Scrap.Edge with another
color that’s more complementary of the photo and then
play with the Layer Blend Modes to add
some unique color effects.
Note: for
another method on changing color of black overlays see
our tutorial
here.
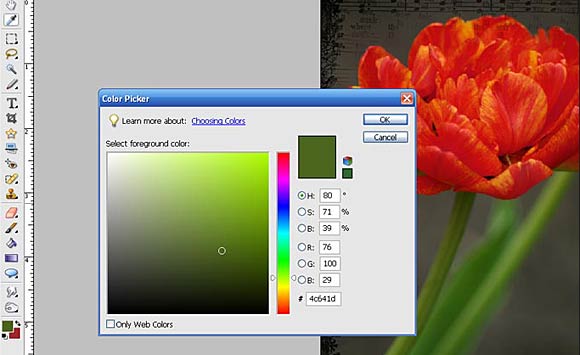
7) Click on the Foreground color Chip on the tool bar
and sample a desired color from the photo. I sampled
color # 4c641d.
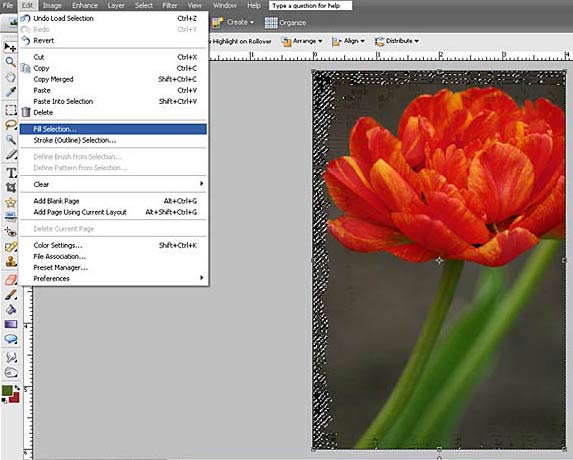
8) In the Layers palette,
Ctrl-Click (Mac: Cmd-Click) with the mouse on the
Scrap.Edge to Select the shape.
9) Select Edit>Fill and
choose Foreground Color in the Fill Dialog. Click OK to
fill the Scrap.Edge with this color.
10) Repeat Step 3 to open
desired paper for blending. Look for one with great
texture or paint strokes. I chose #9 in Naturals 7 Paper
Pak. Drag this paper onto the photo.
11) Add any desired text with Type Tool or pre-made word
art.
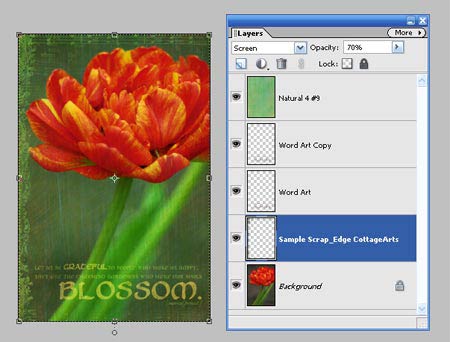
12) Now, for the fun part! Play with the Layer Blend
Modes on all of the layers in the Layers palette. I
chose Overlay for the Paper layer, Screen for the Word
Art, and Screen for the Scrap.Edge. I adjusted the
opacity of the Scrap.Edge to about 75%. You can be so
creative in this step. If you used a colored patterned
paper as the texture overlay (mine was black and white),
try removing the color or changing the color to see the
different results.
Save as a .psd
to retain layers. Print at high quality on photo paper.
Let dry one day. Mat and frame or adhere to canvas as I
did above (shown on shelf above bed). Below are some
other pieces I've created using similar techniques.
Bonus: to
use our Scrap.Edges as a clipping mask to fill with
papers, etc. see our tutorial
here.
|